How to Create Embroidered Scrub Caps
New to embroidering? You’ve come to the perfect spot! Here you’ll find a comprehensive written tutorial guiding you through how to create your own embroidered scrub caps, as well as a video!
Video Tutorial
Materials
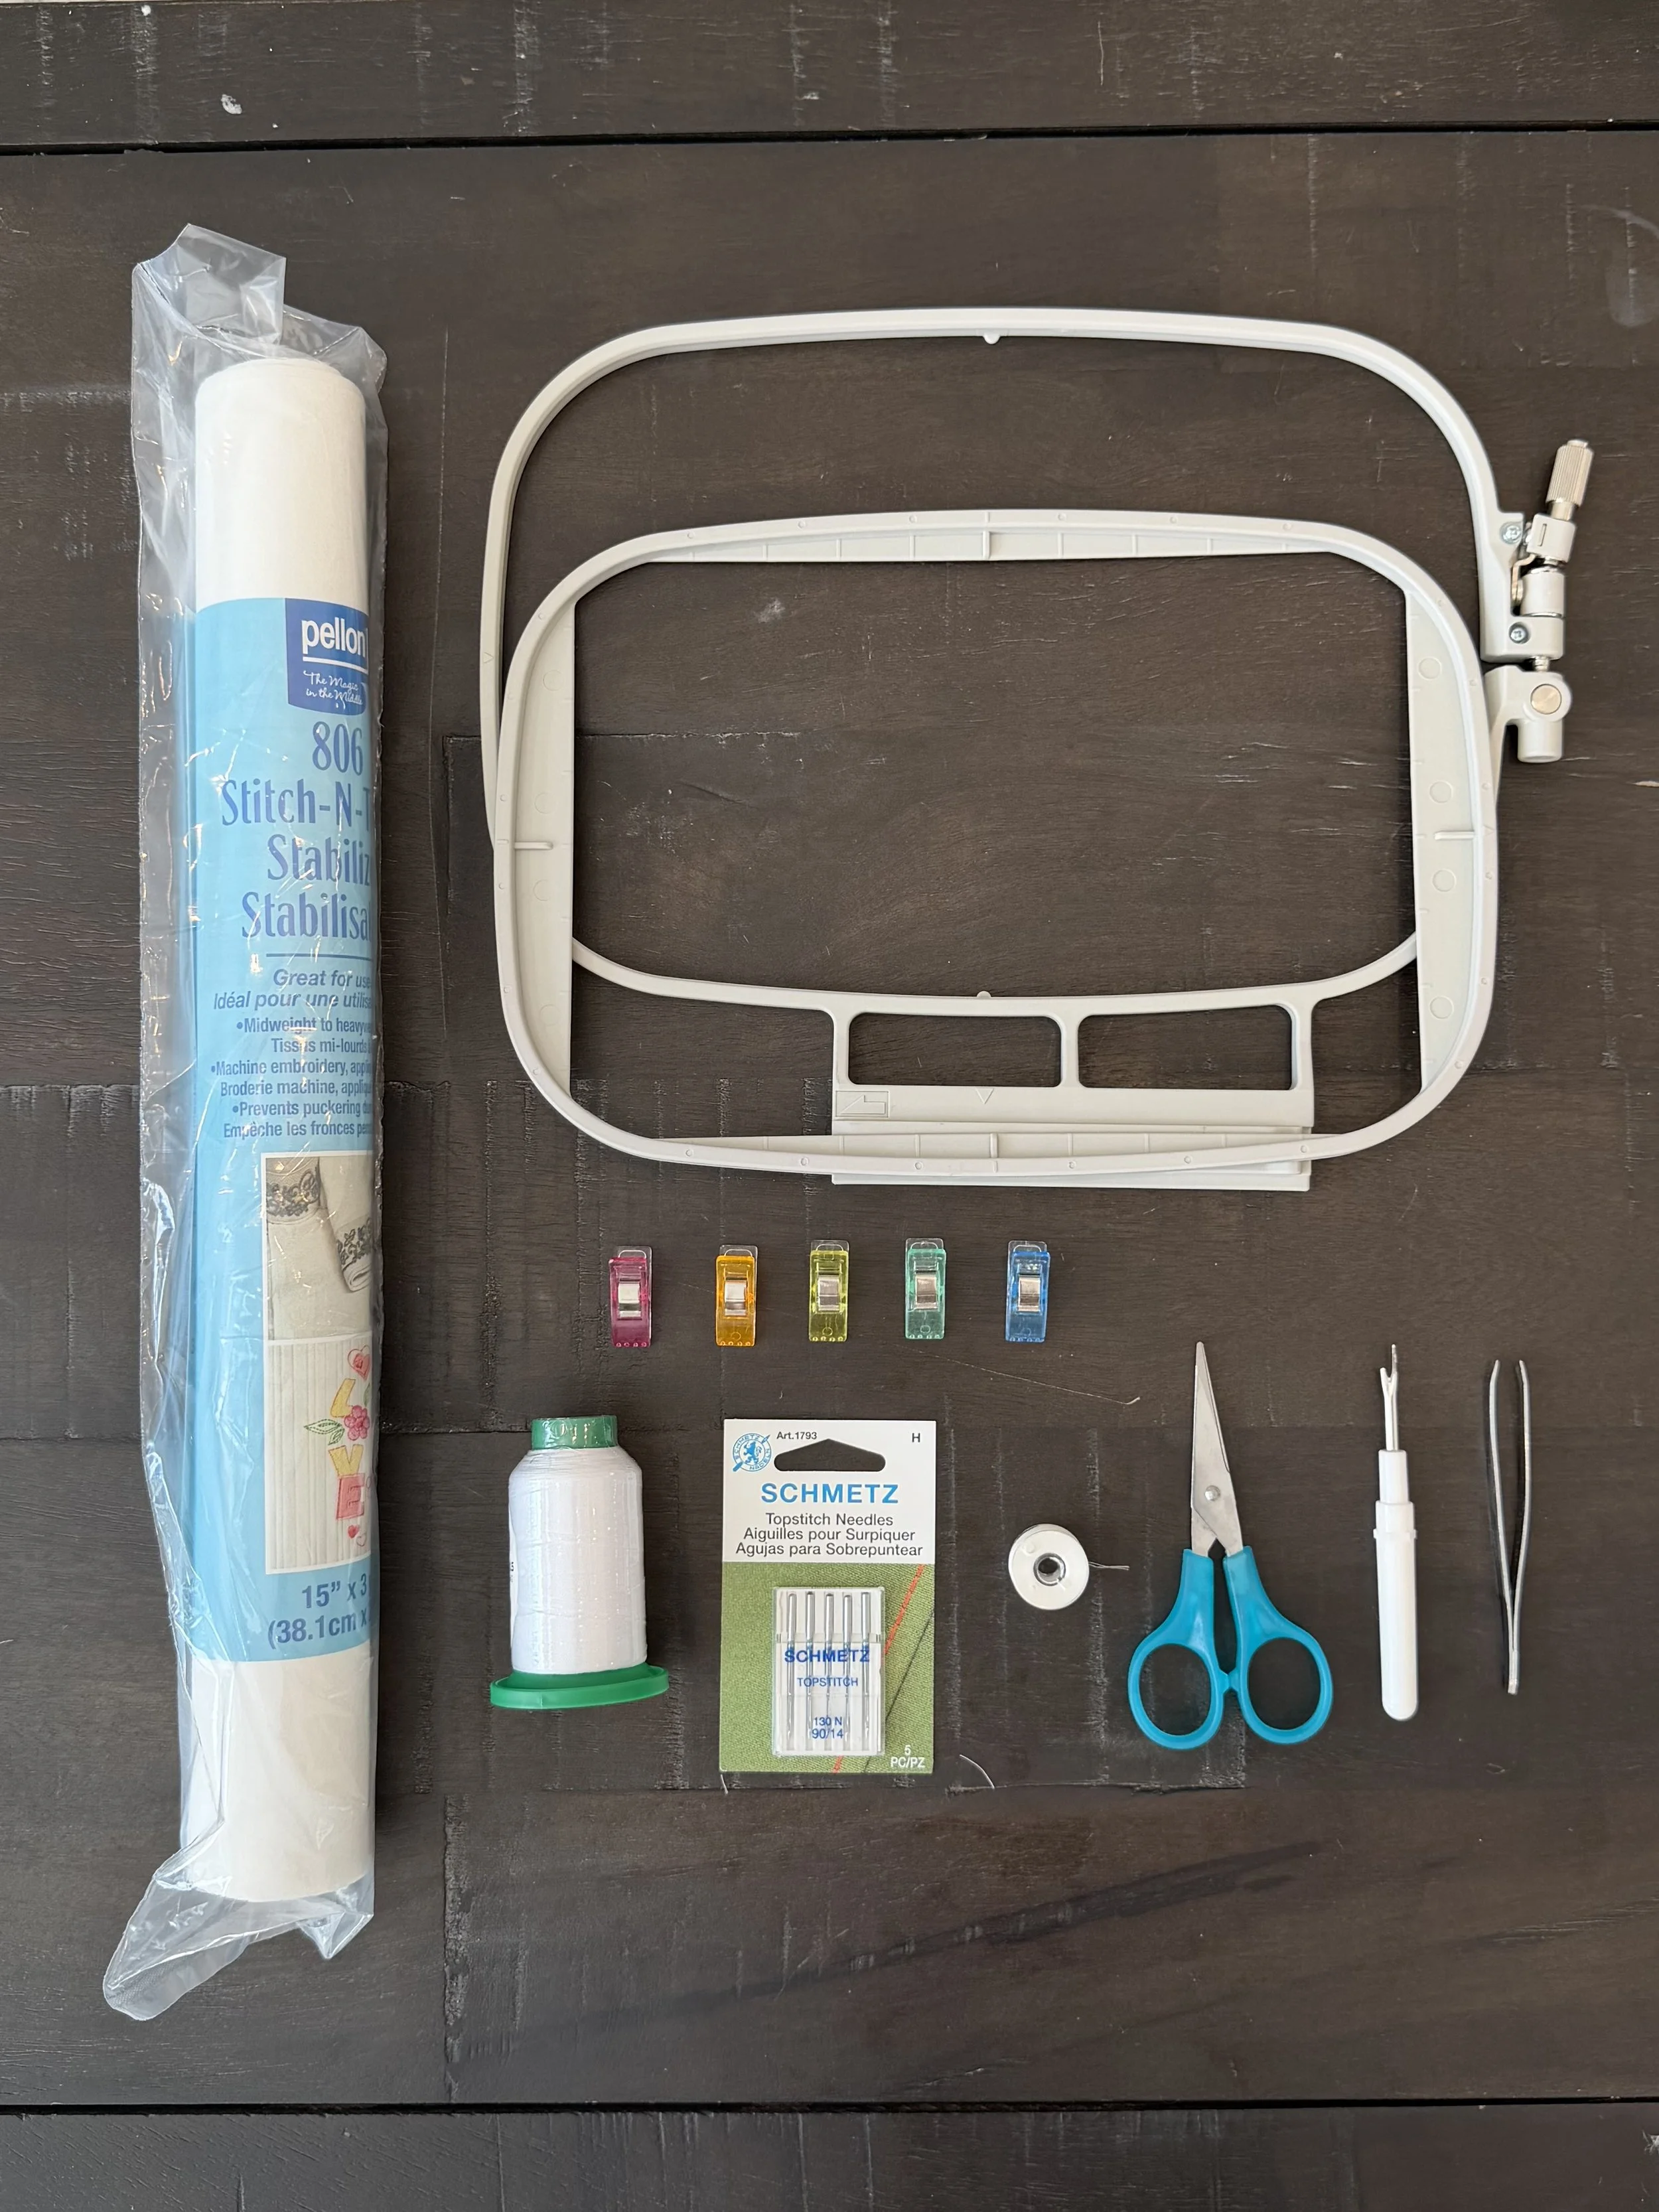
To create your scrub caps, you will need:
An embroidery machine (not pictured)A scrub cap (not pictured)An embroidery frameTransfer paperClipsNeedleThreadBobbin threadScissorsSeam Ripper (Optional)Tweezers (Optional)
Setting up the frame
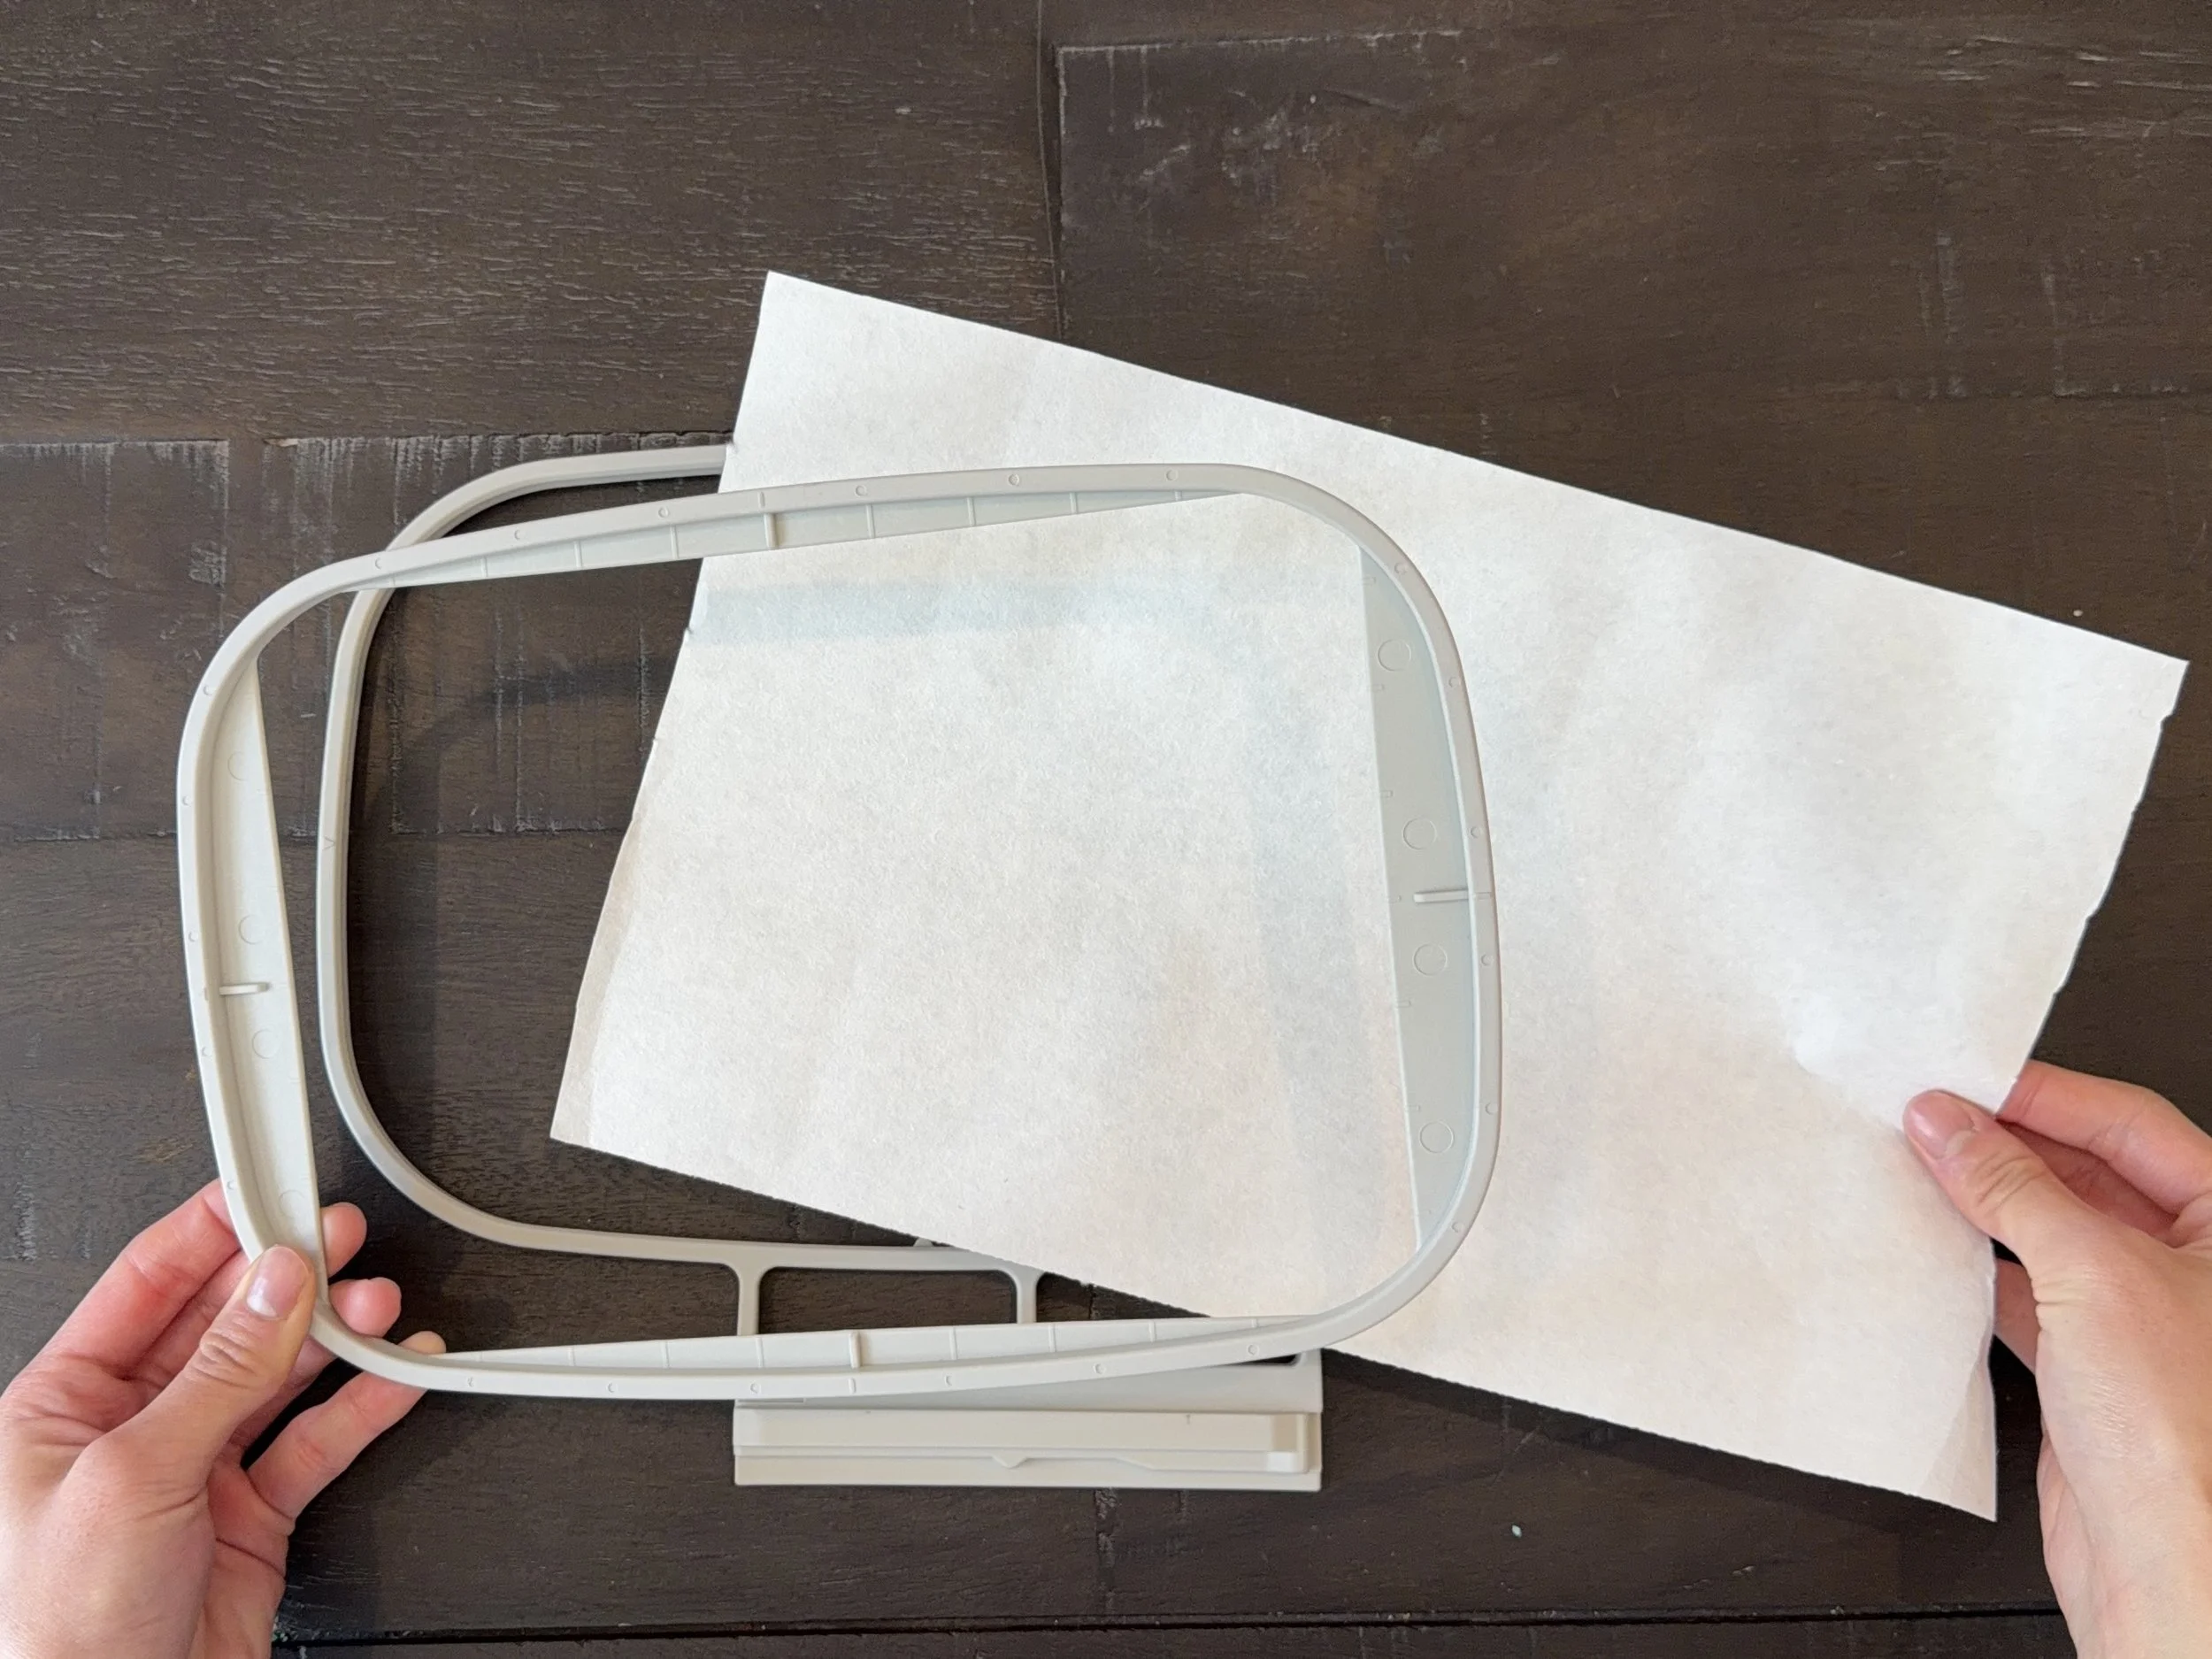
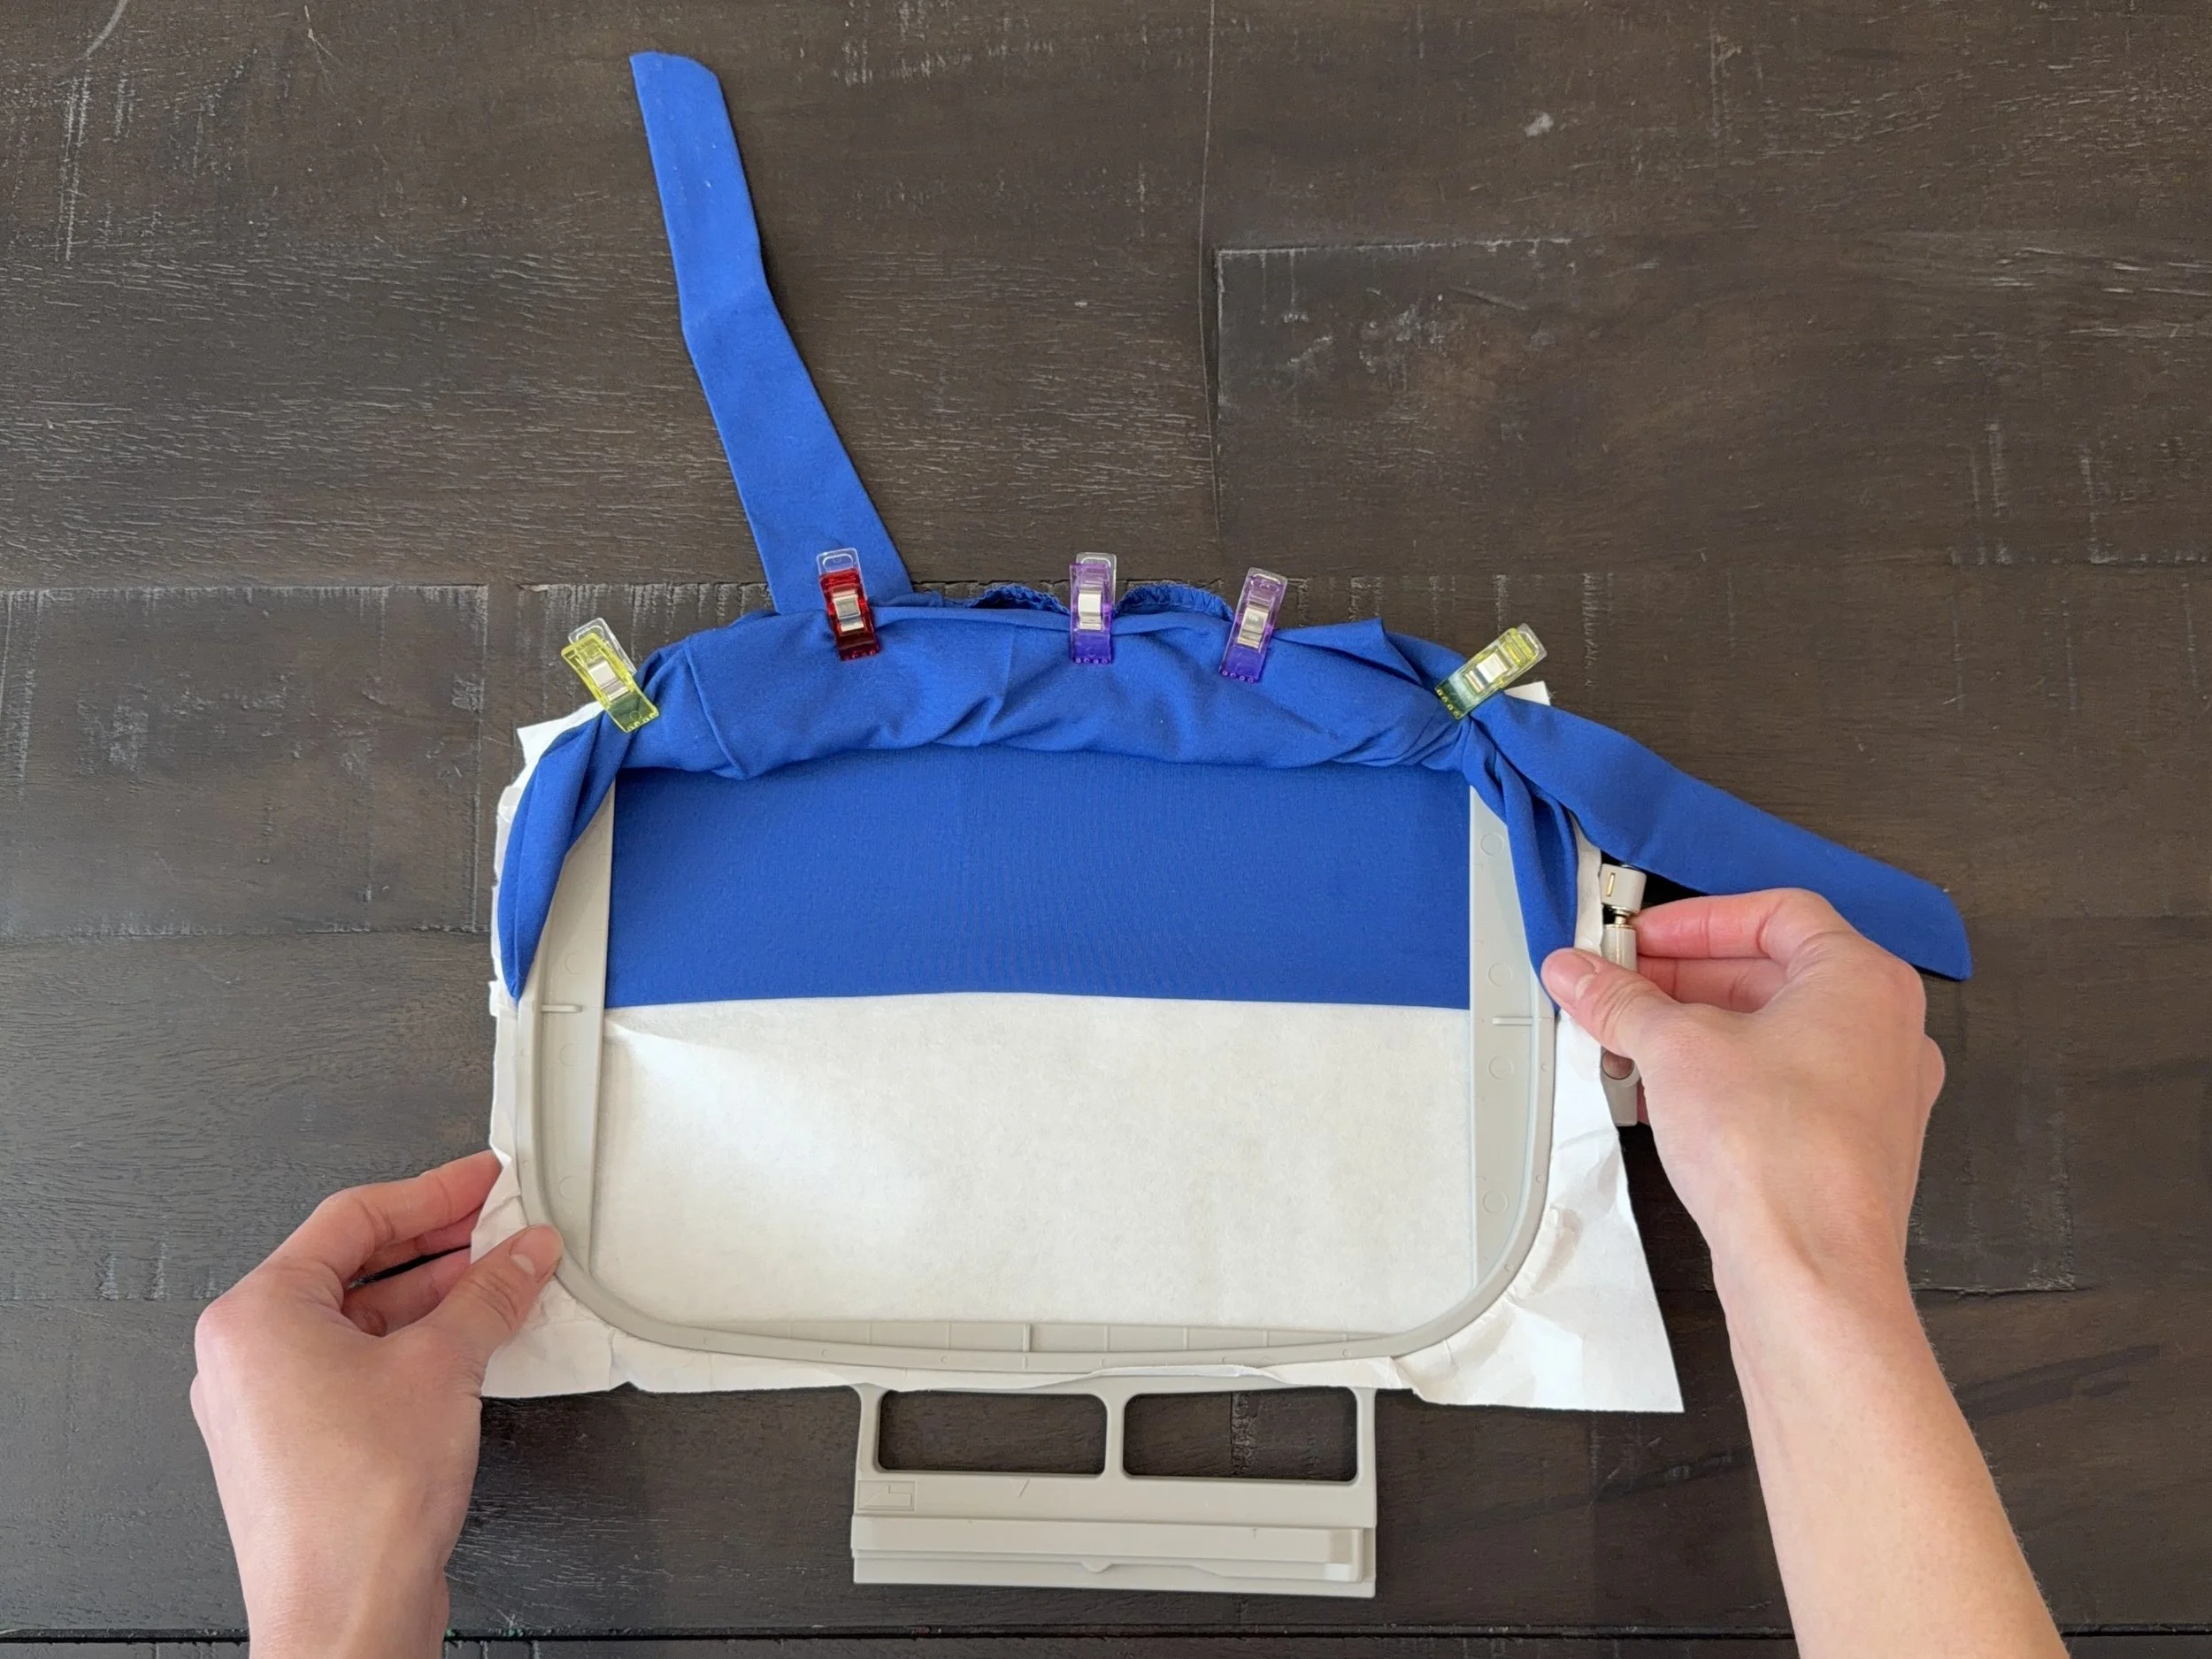
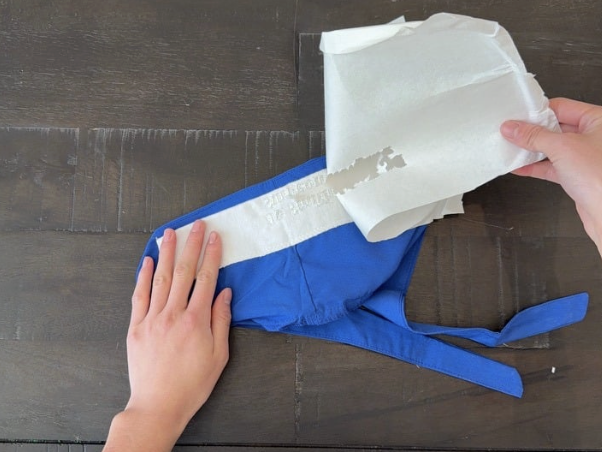
The embroidery frame is two plastic rectangles that slot into each other. Place a pre-cut piece of embroidery transfer paper onto the outer part of the embroidery frame.
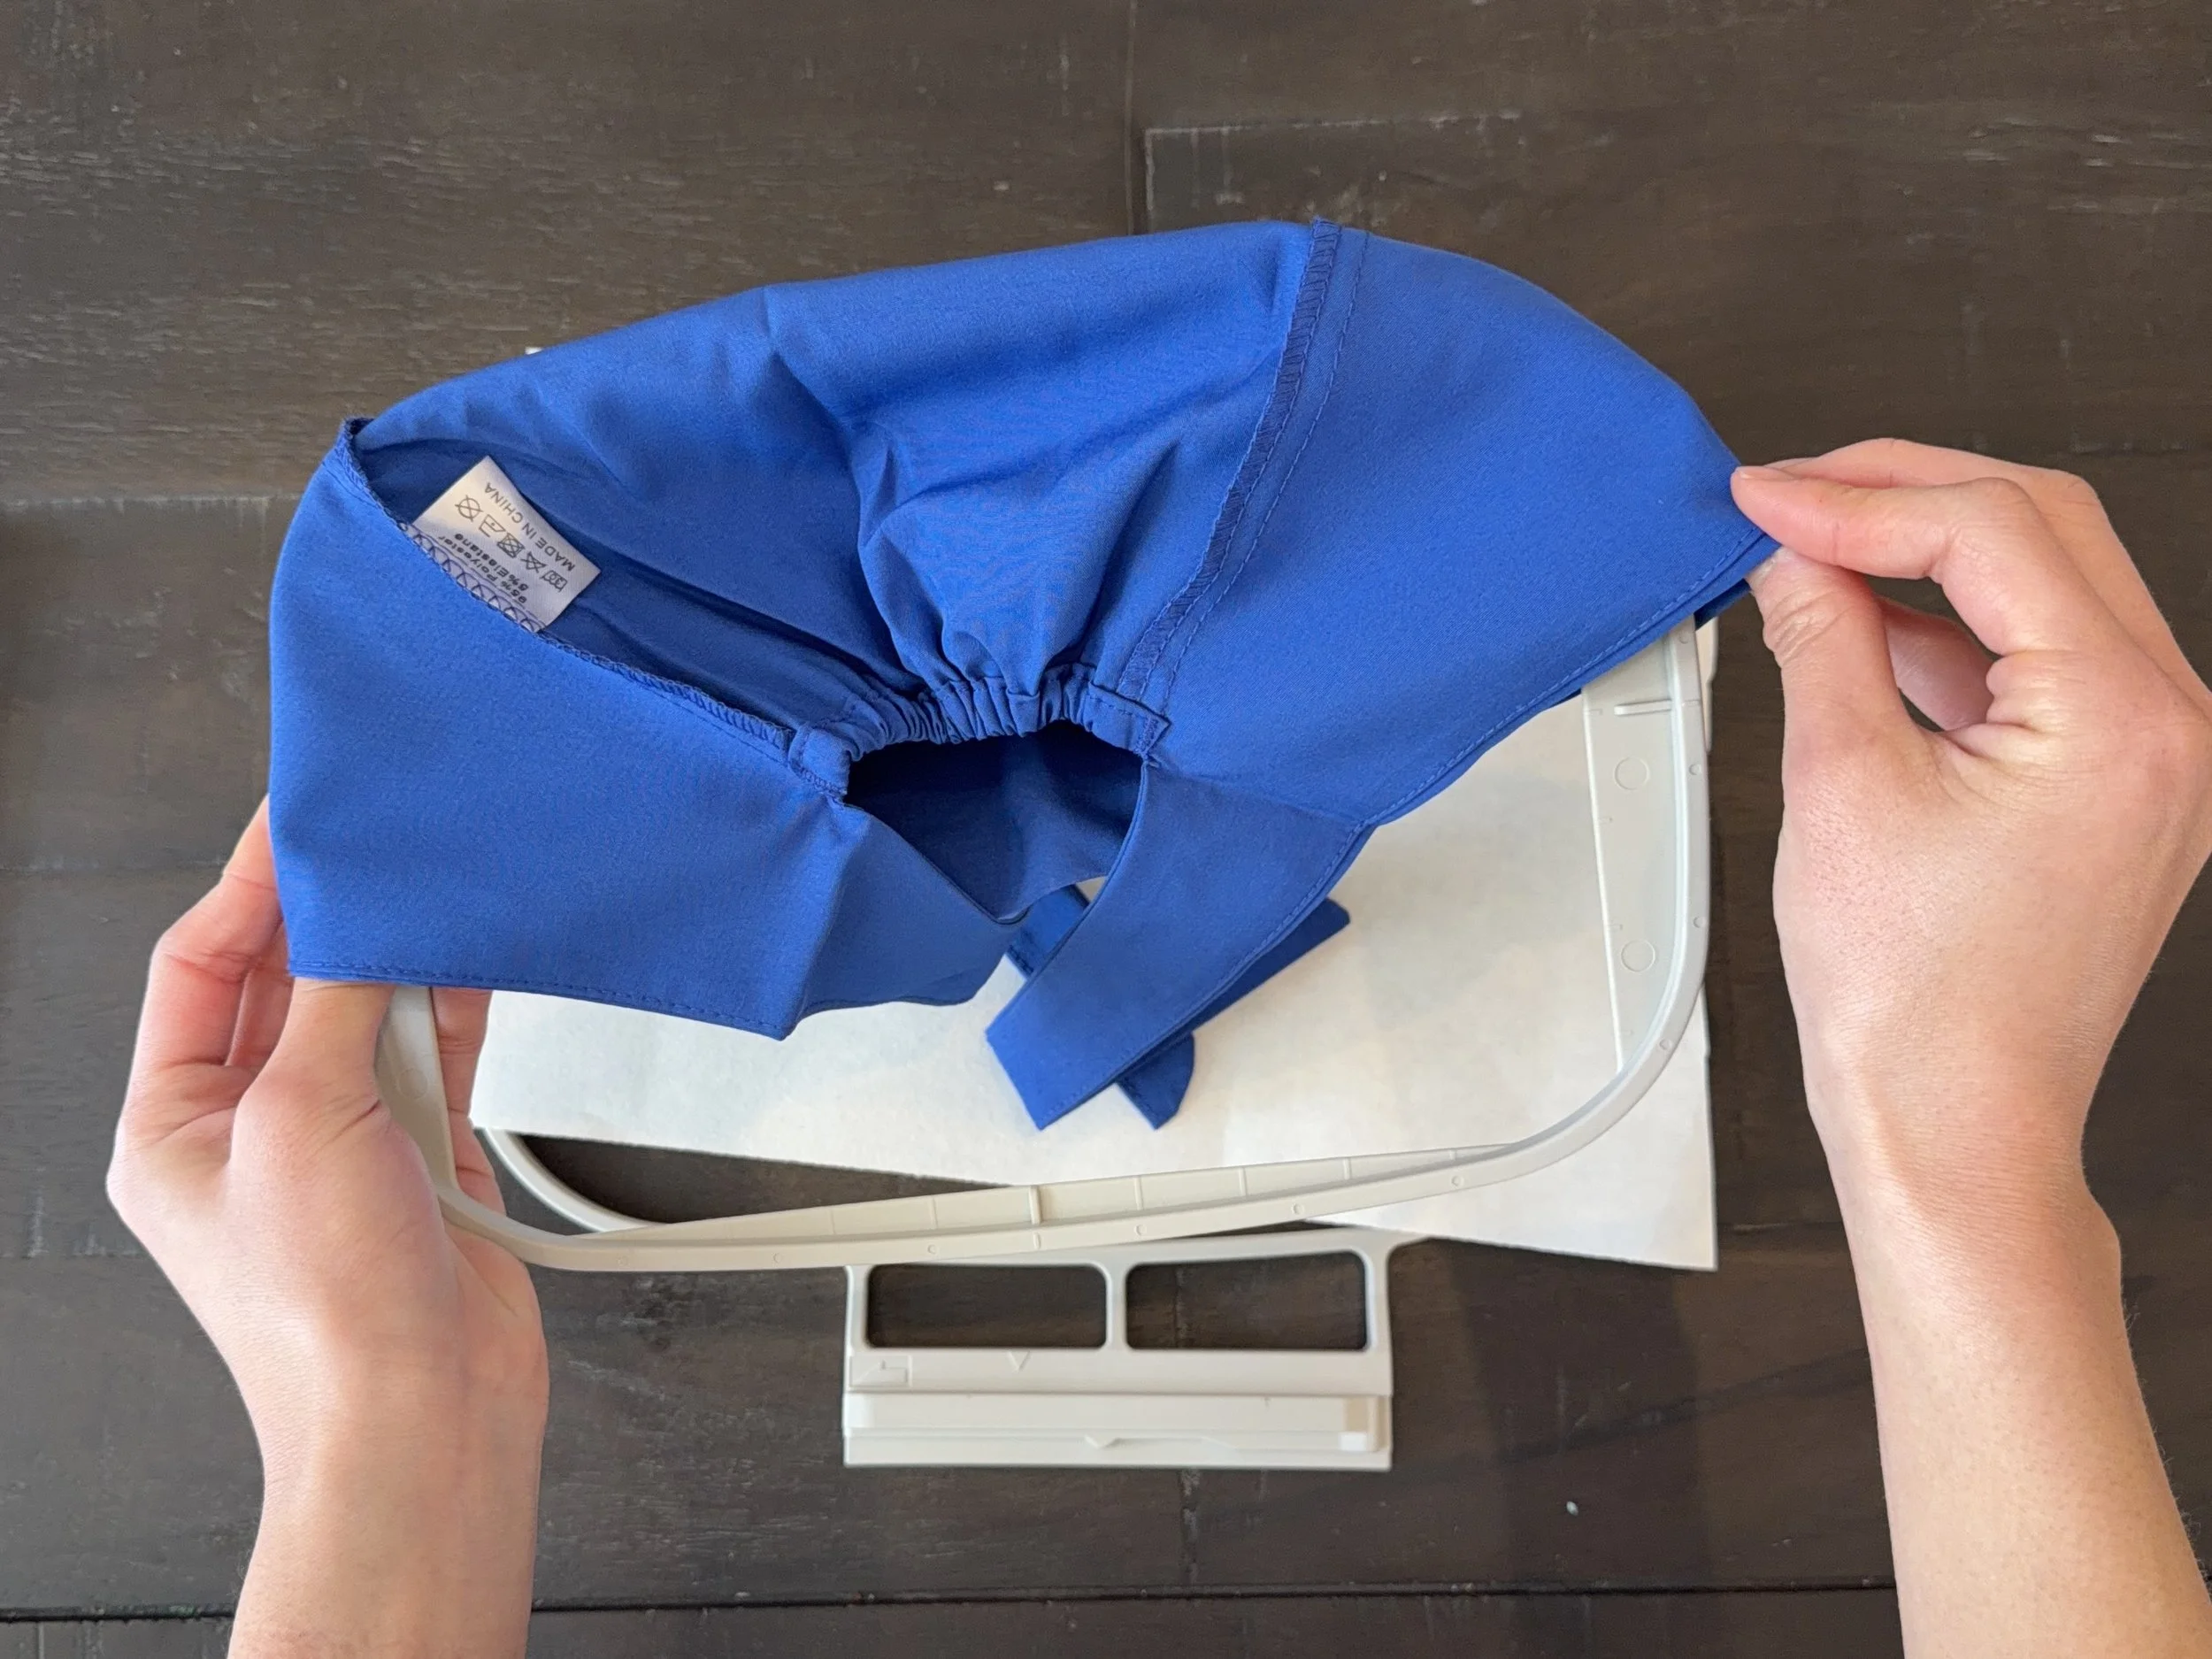
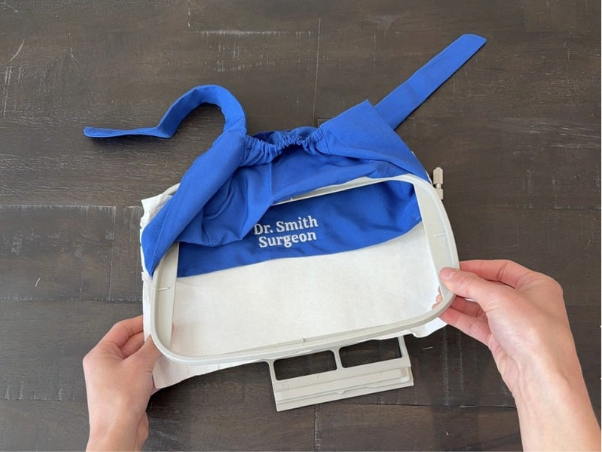
Then, place the scrub cap over the inner part of the embroidery frame, ensuring that the inside is facing out.
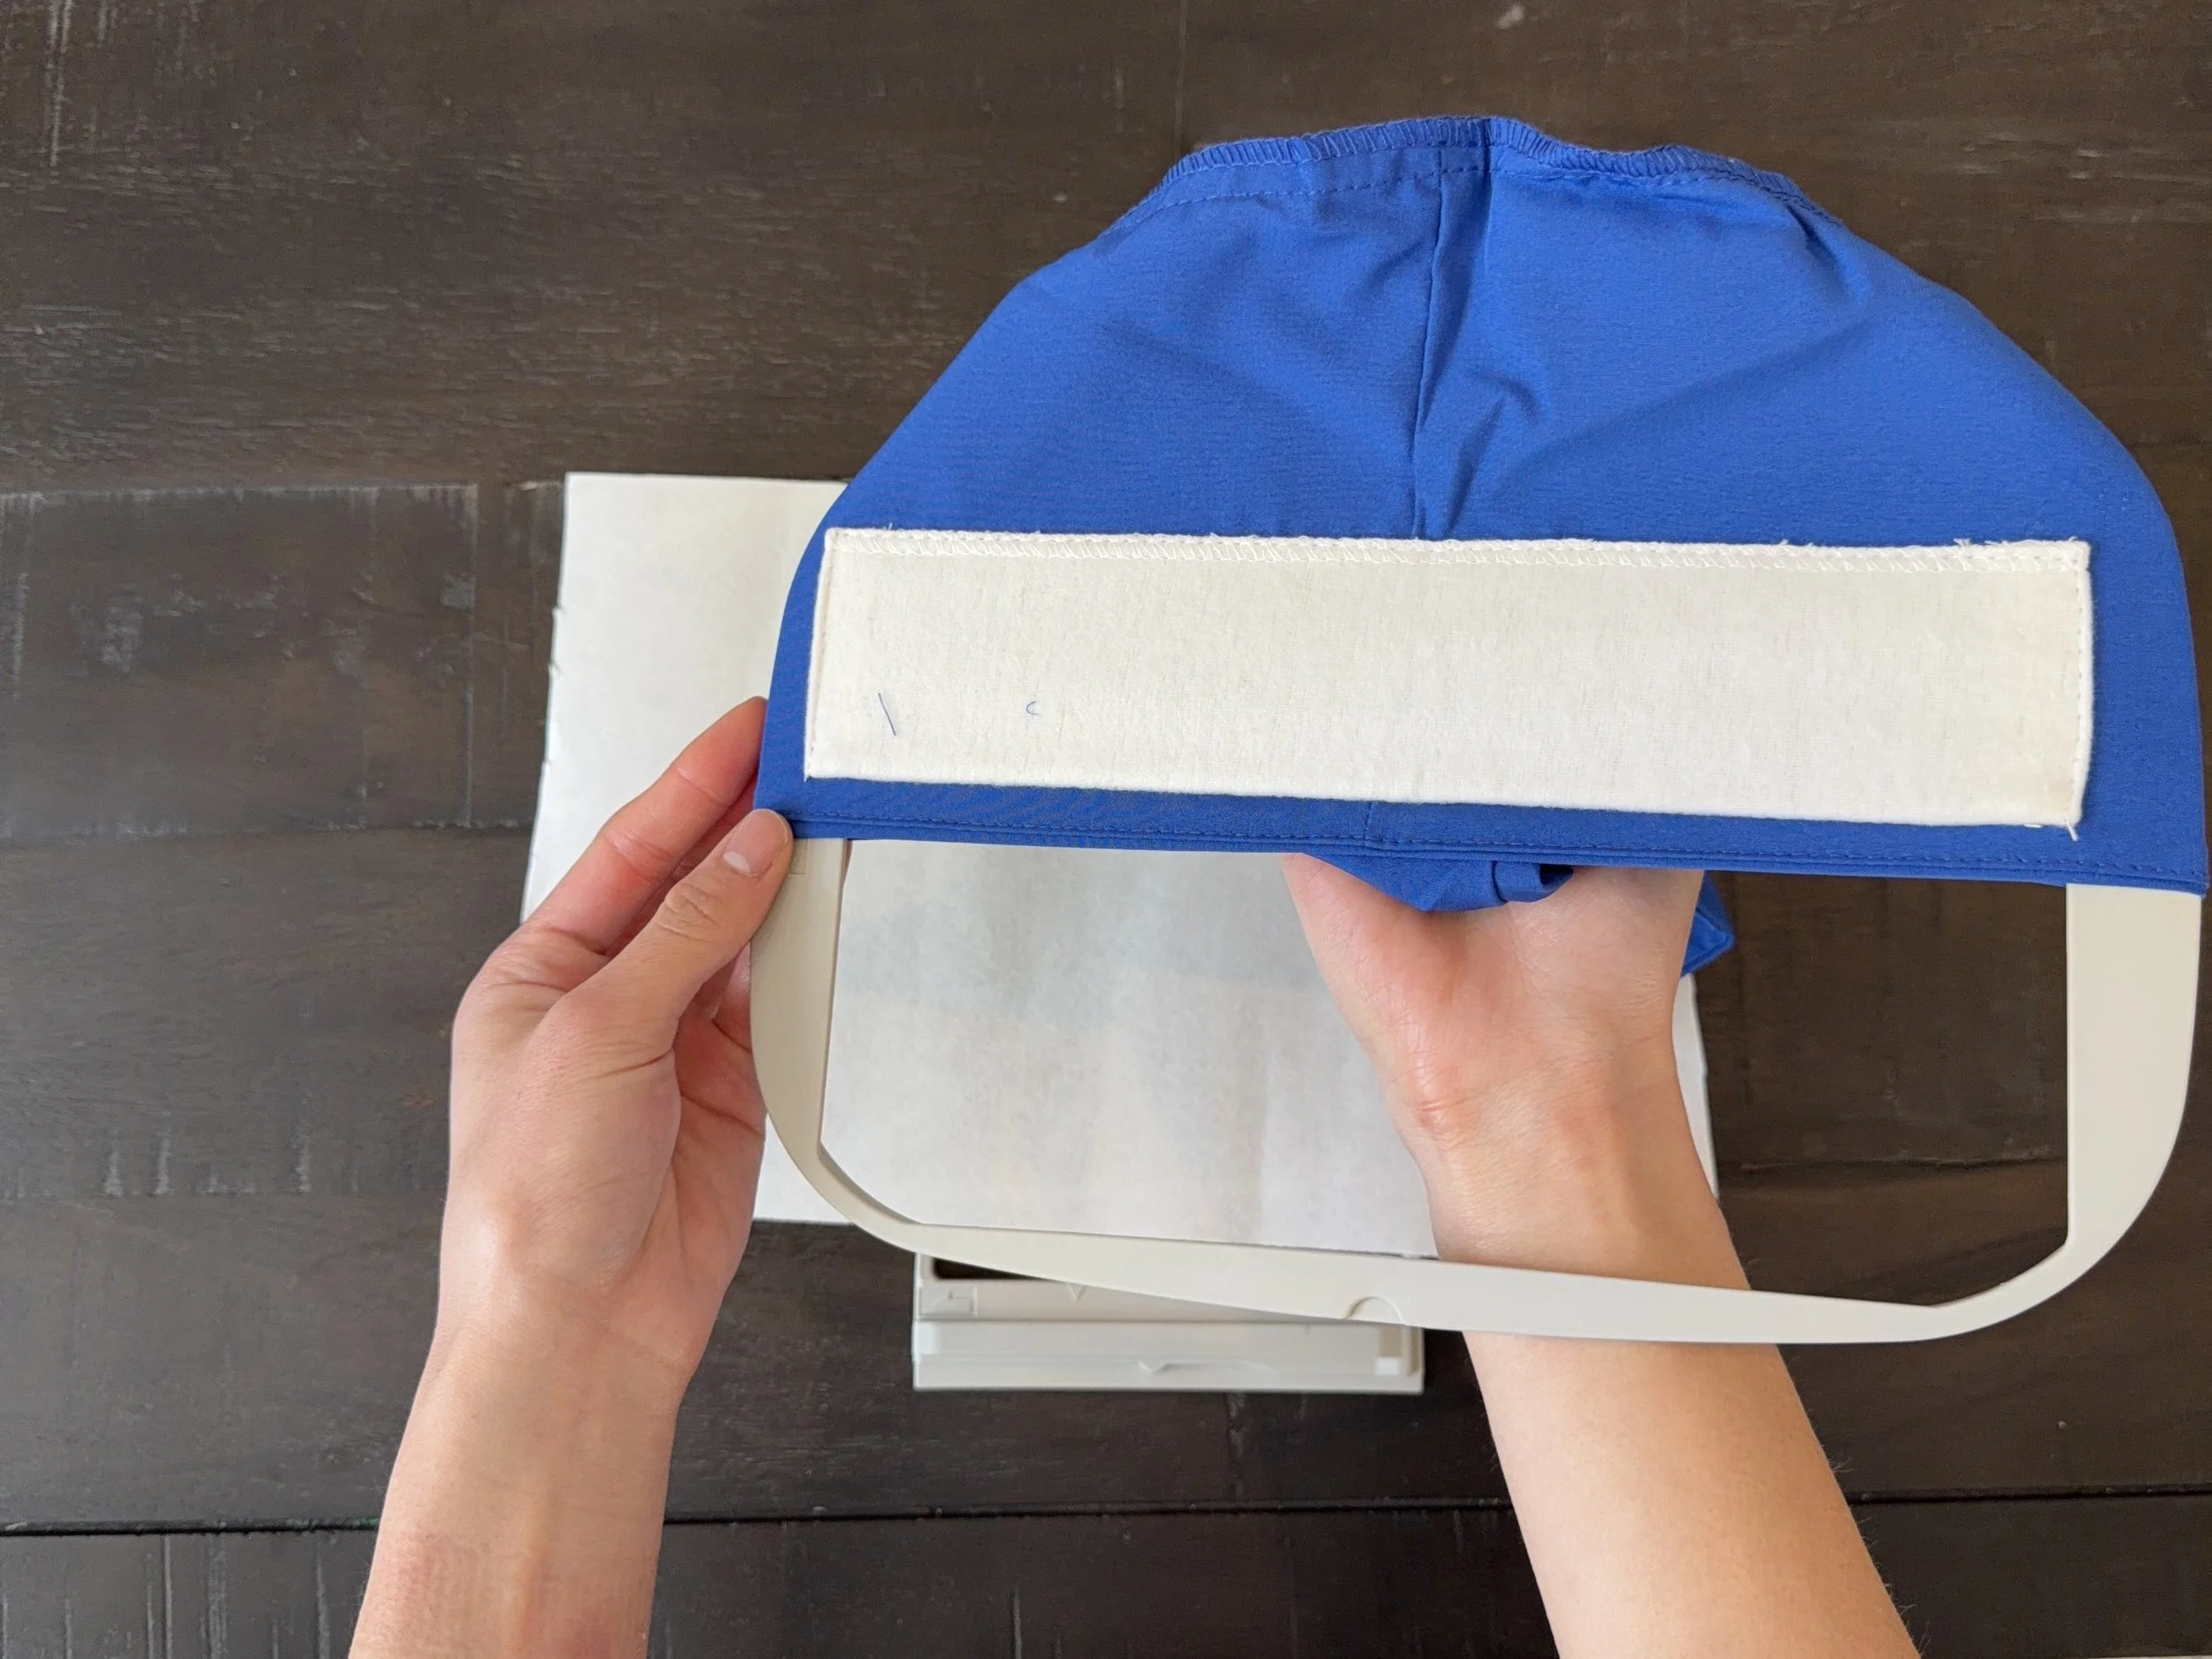
The scrub cap has a white piece of fabric on the inside. Make sure that the white part is facing out.
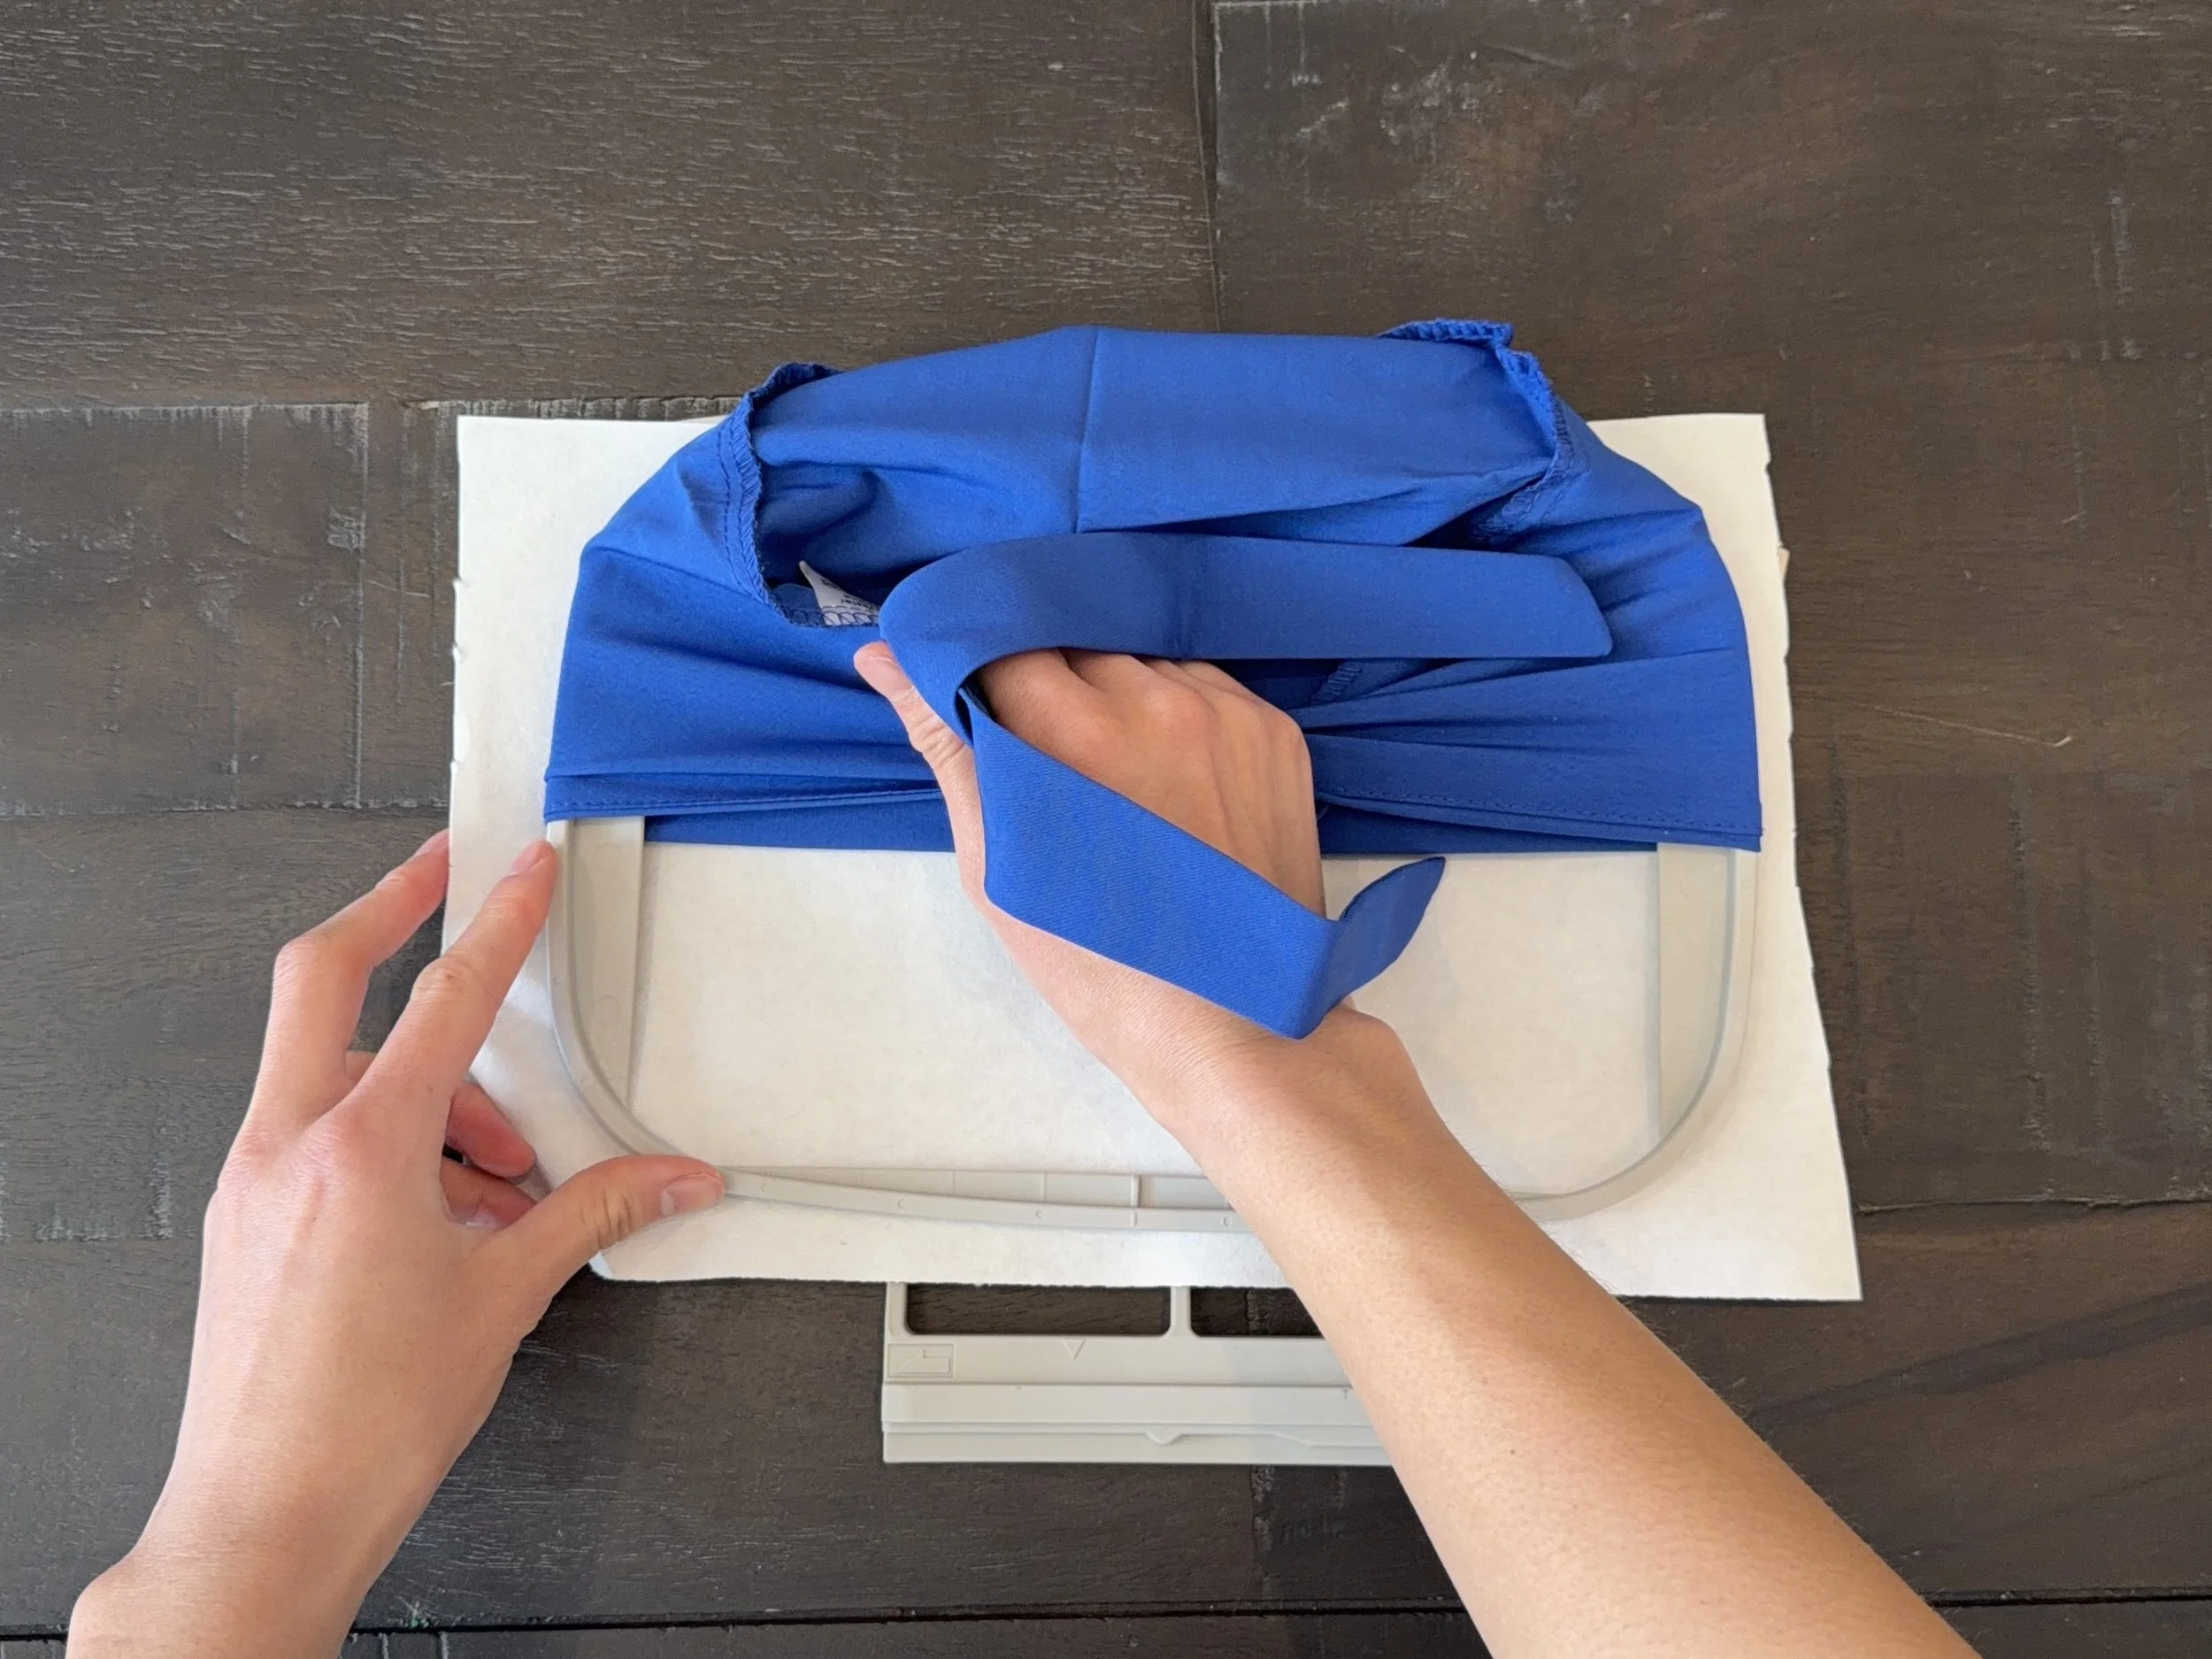
Then, place the inner part of the frame directly into the outer part of the frame. I recommend holding the scrub cap tightly so it doesn’t come off the frame. Press the frame down to ensure that the inner part is securely inside the outer part of the embroidery frame.
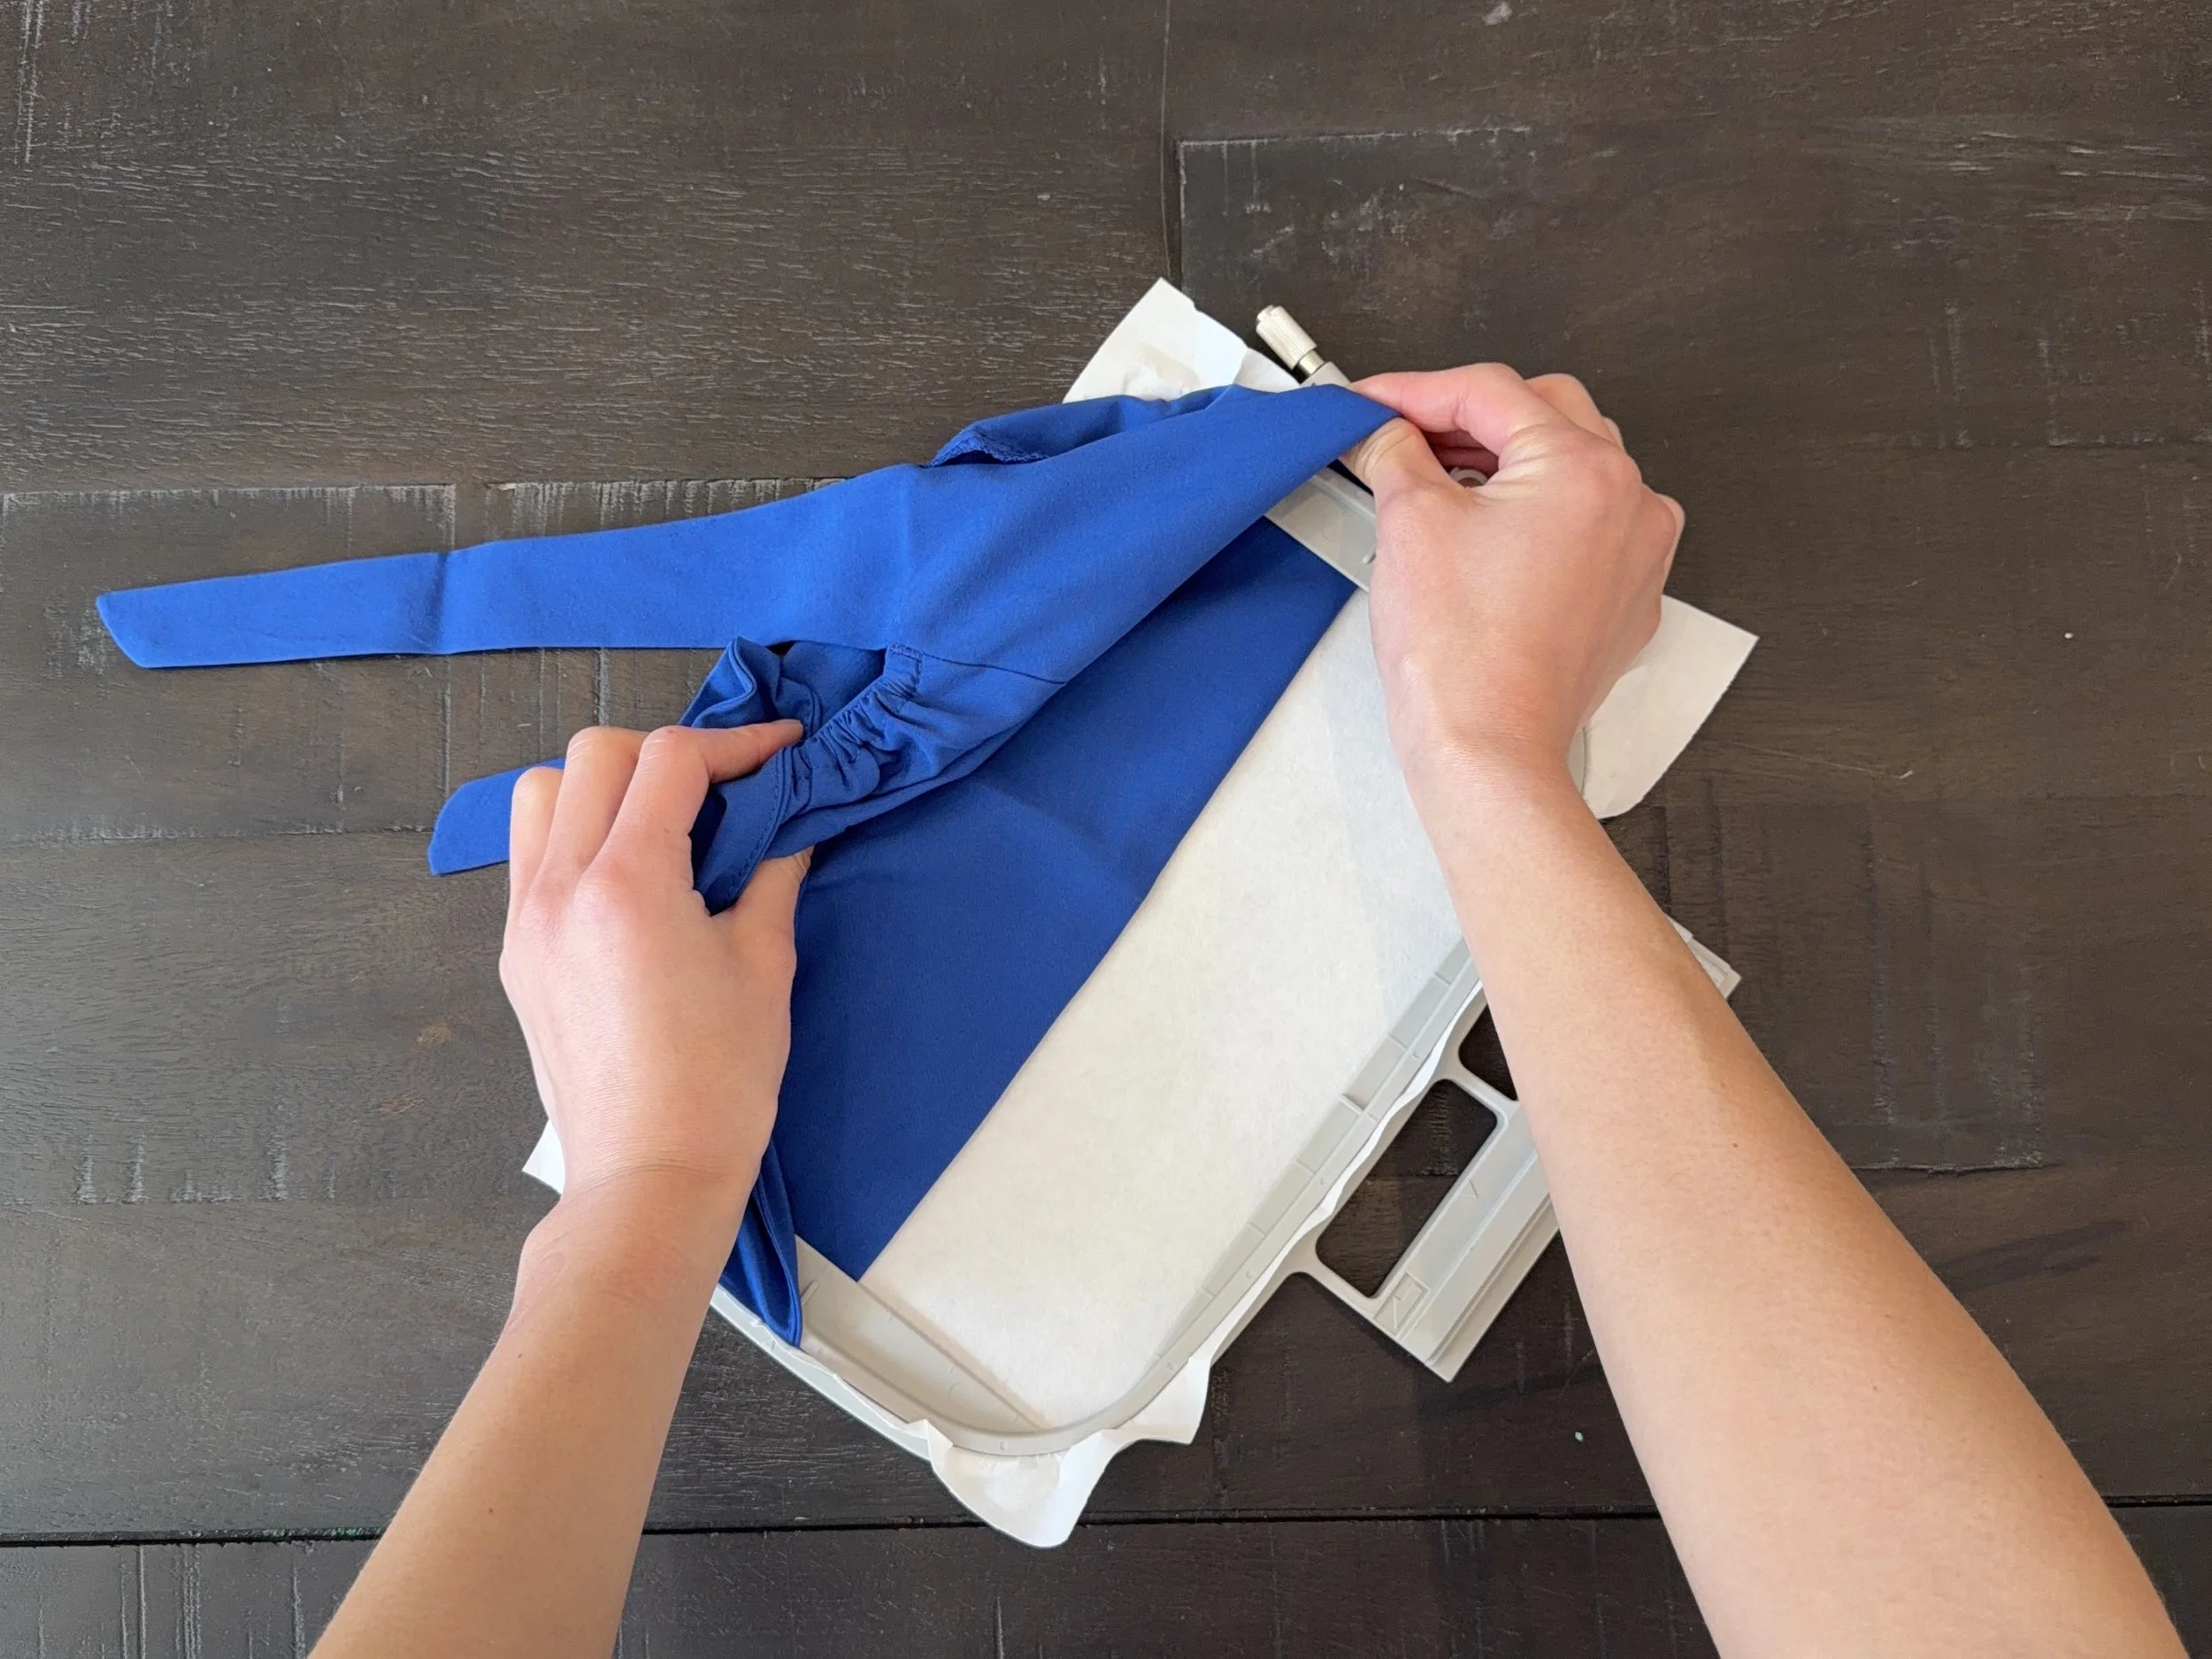
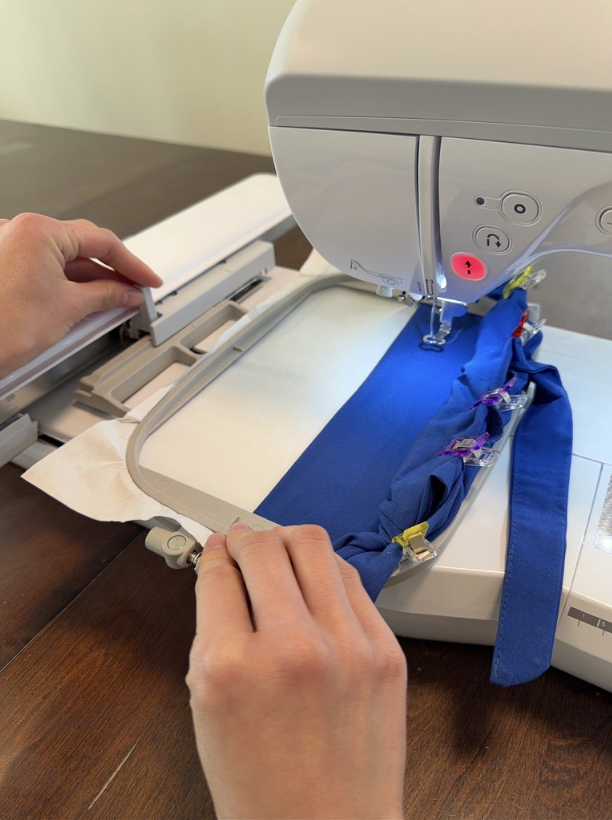
After placing the scrub cap in the frame, pull it taut. While pulling the scrub cap, ensure that it is level in the embroidery frame.
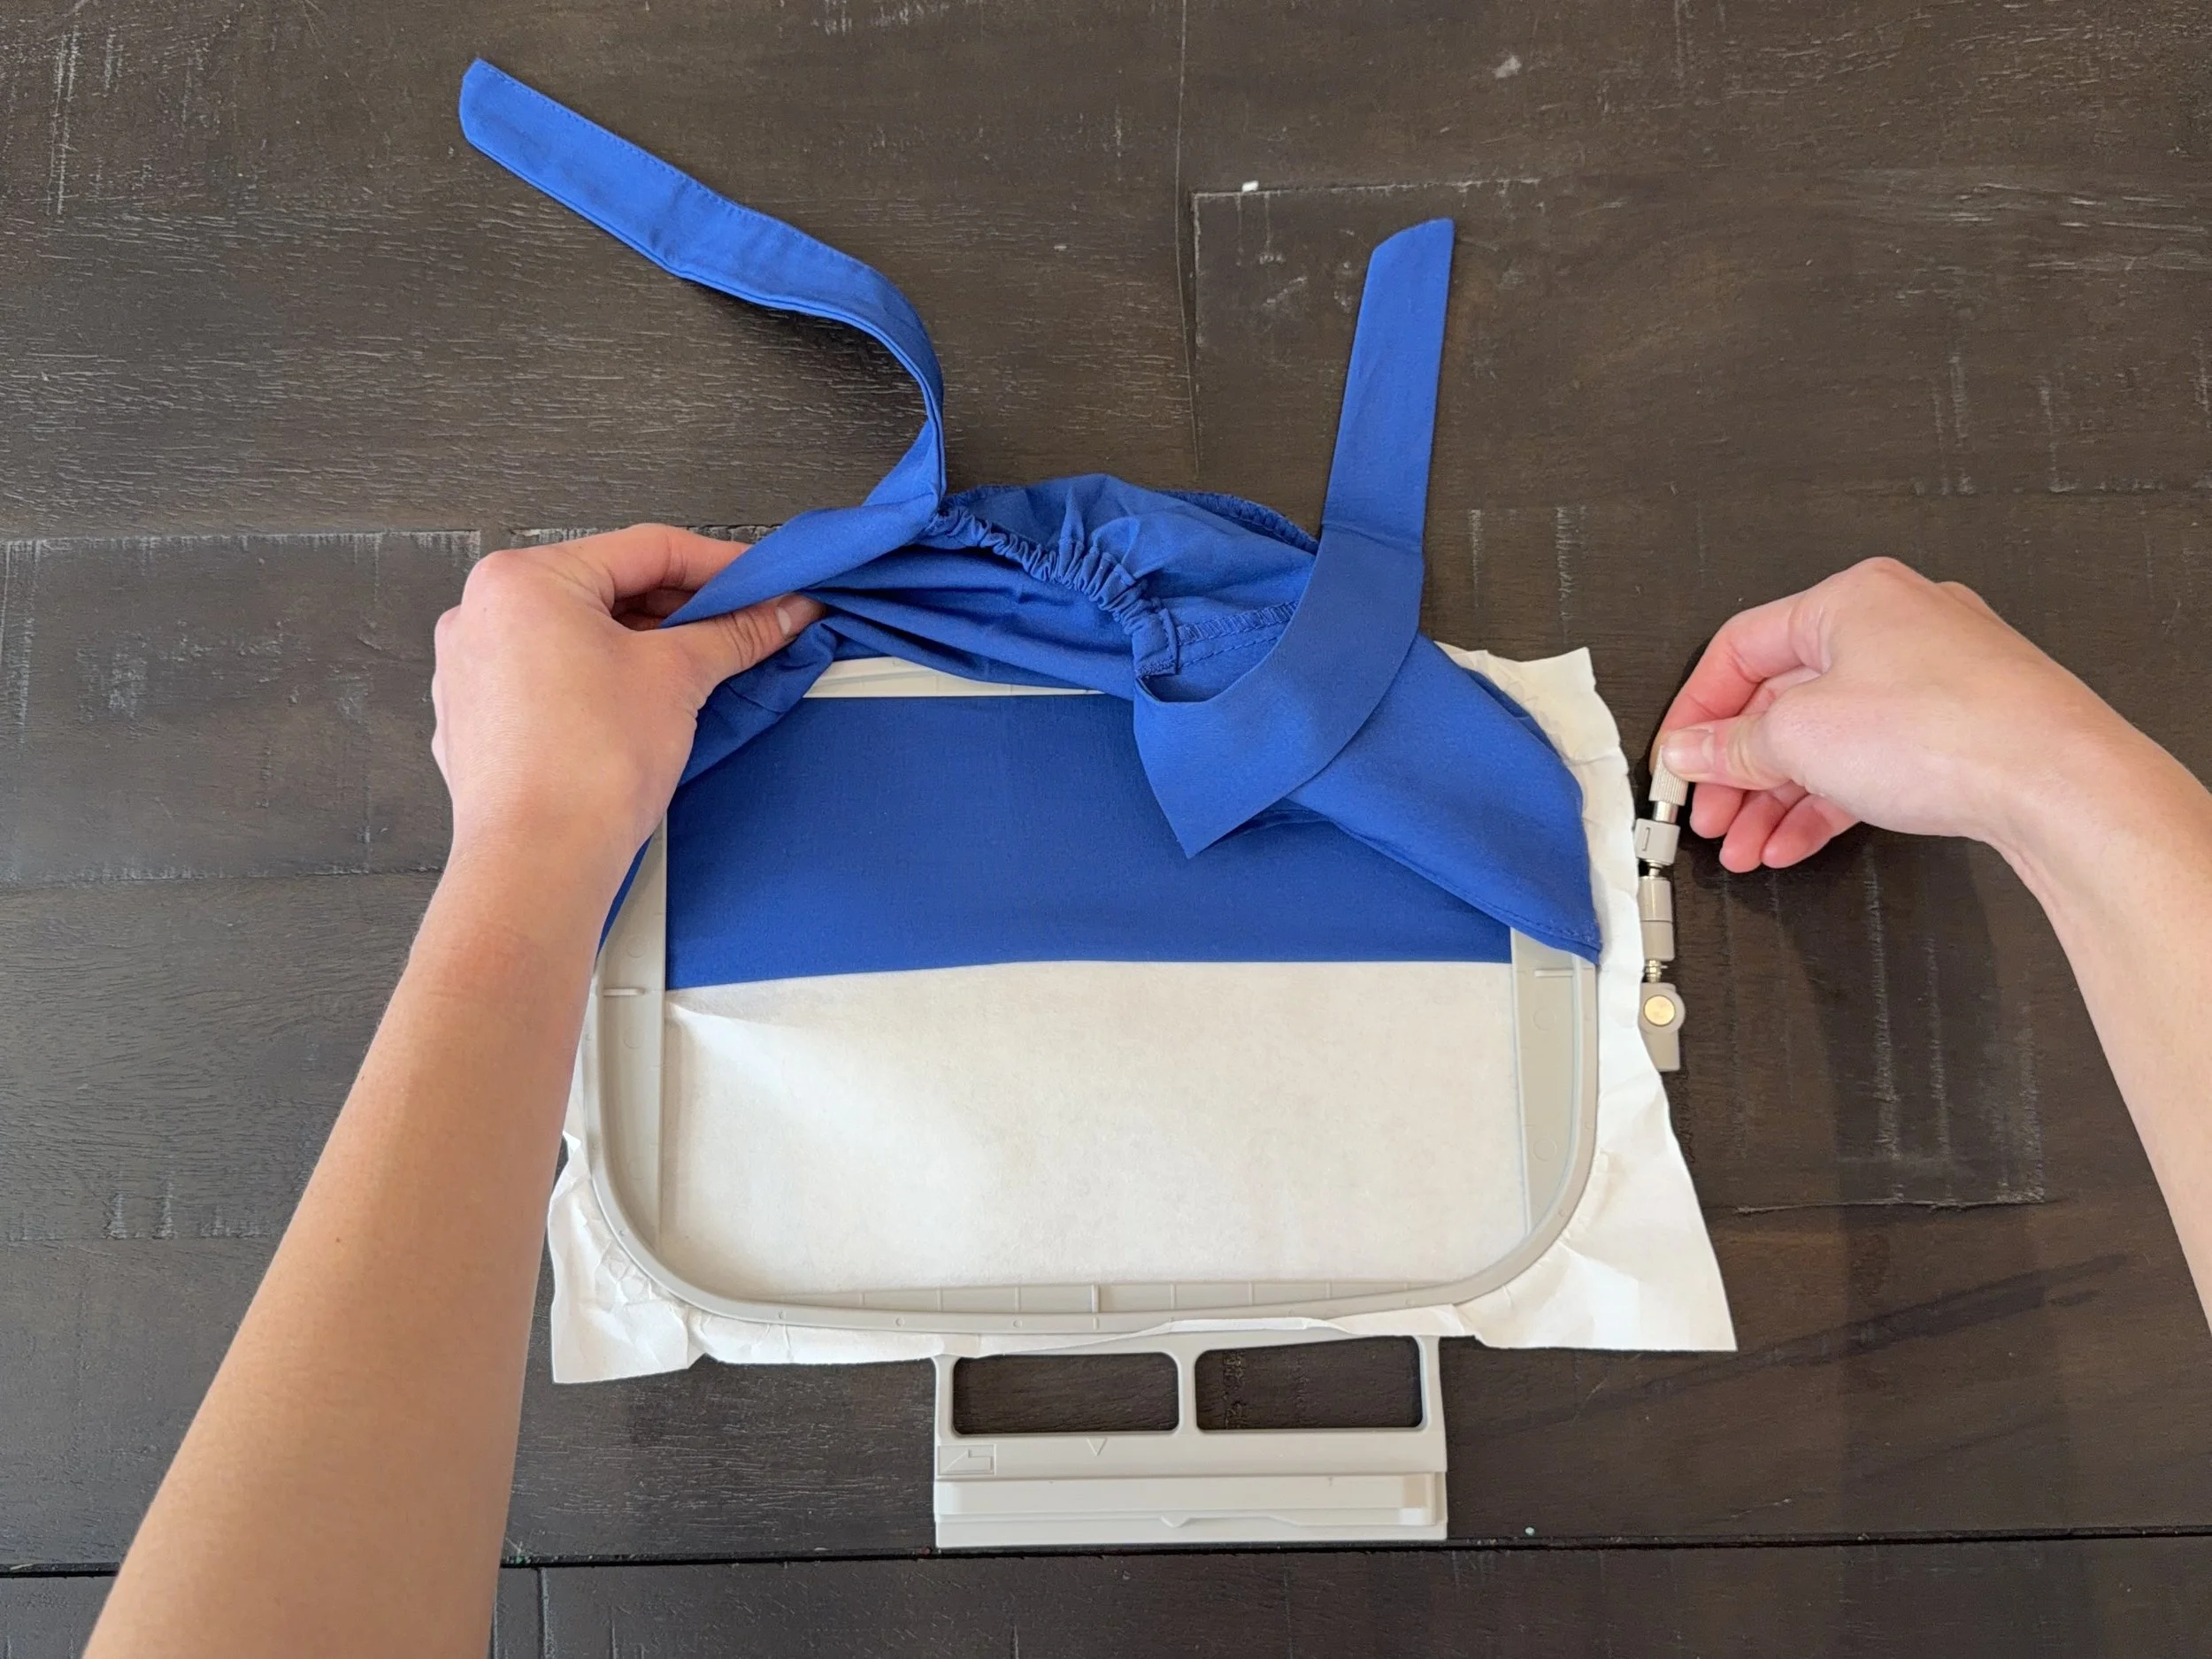
Twist the metal knob to tighten the frame.
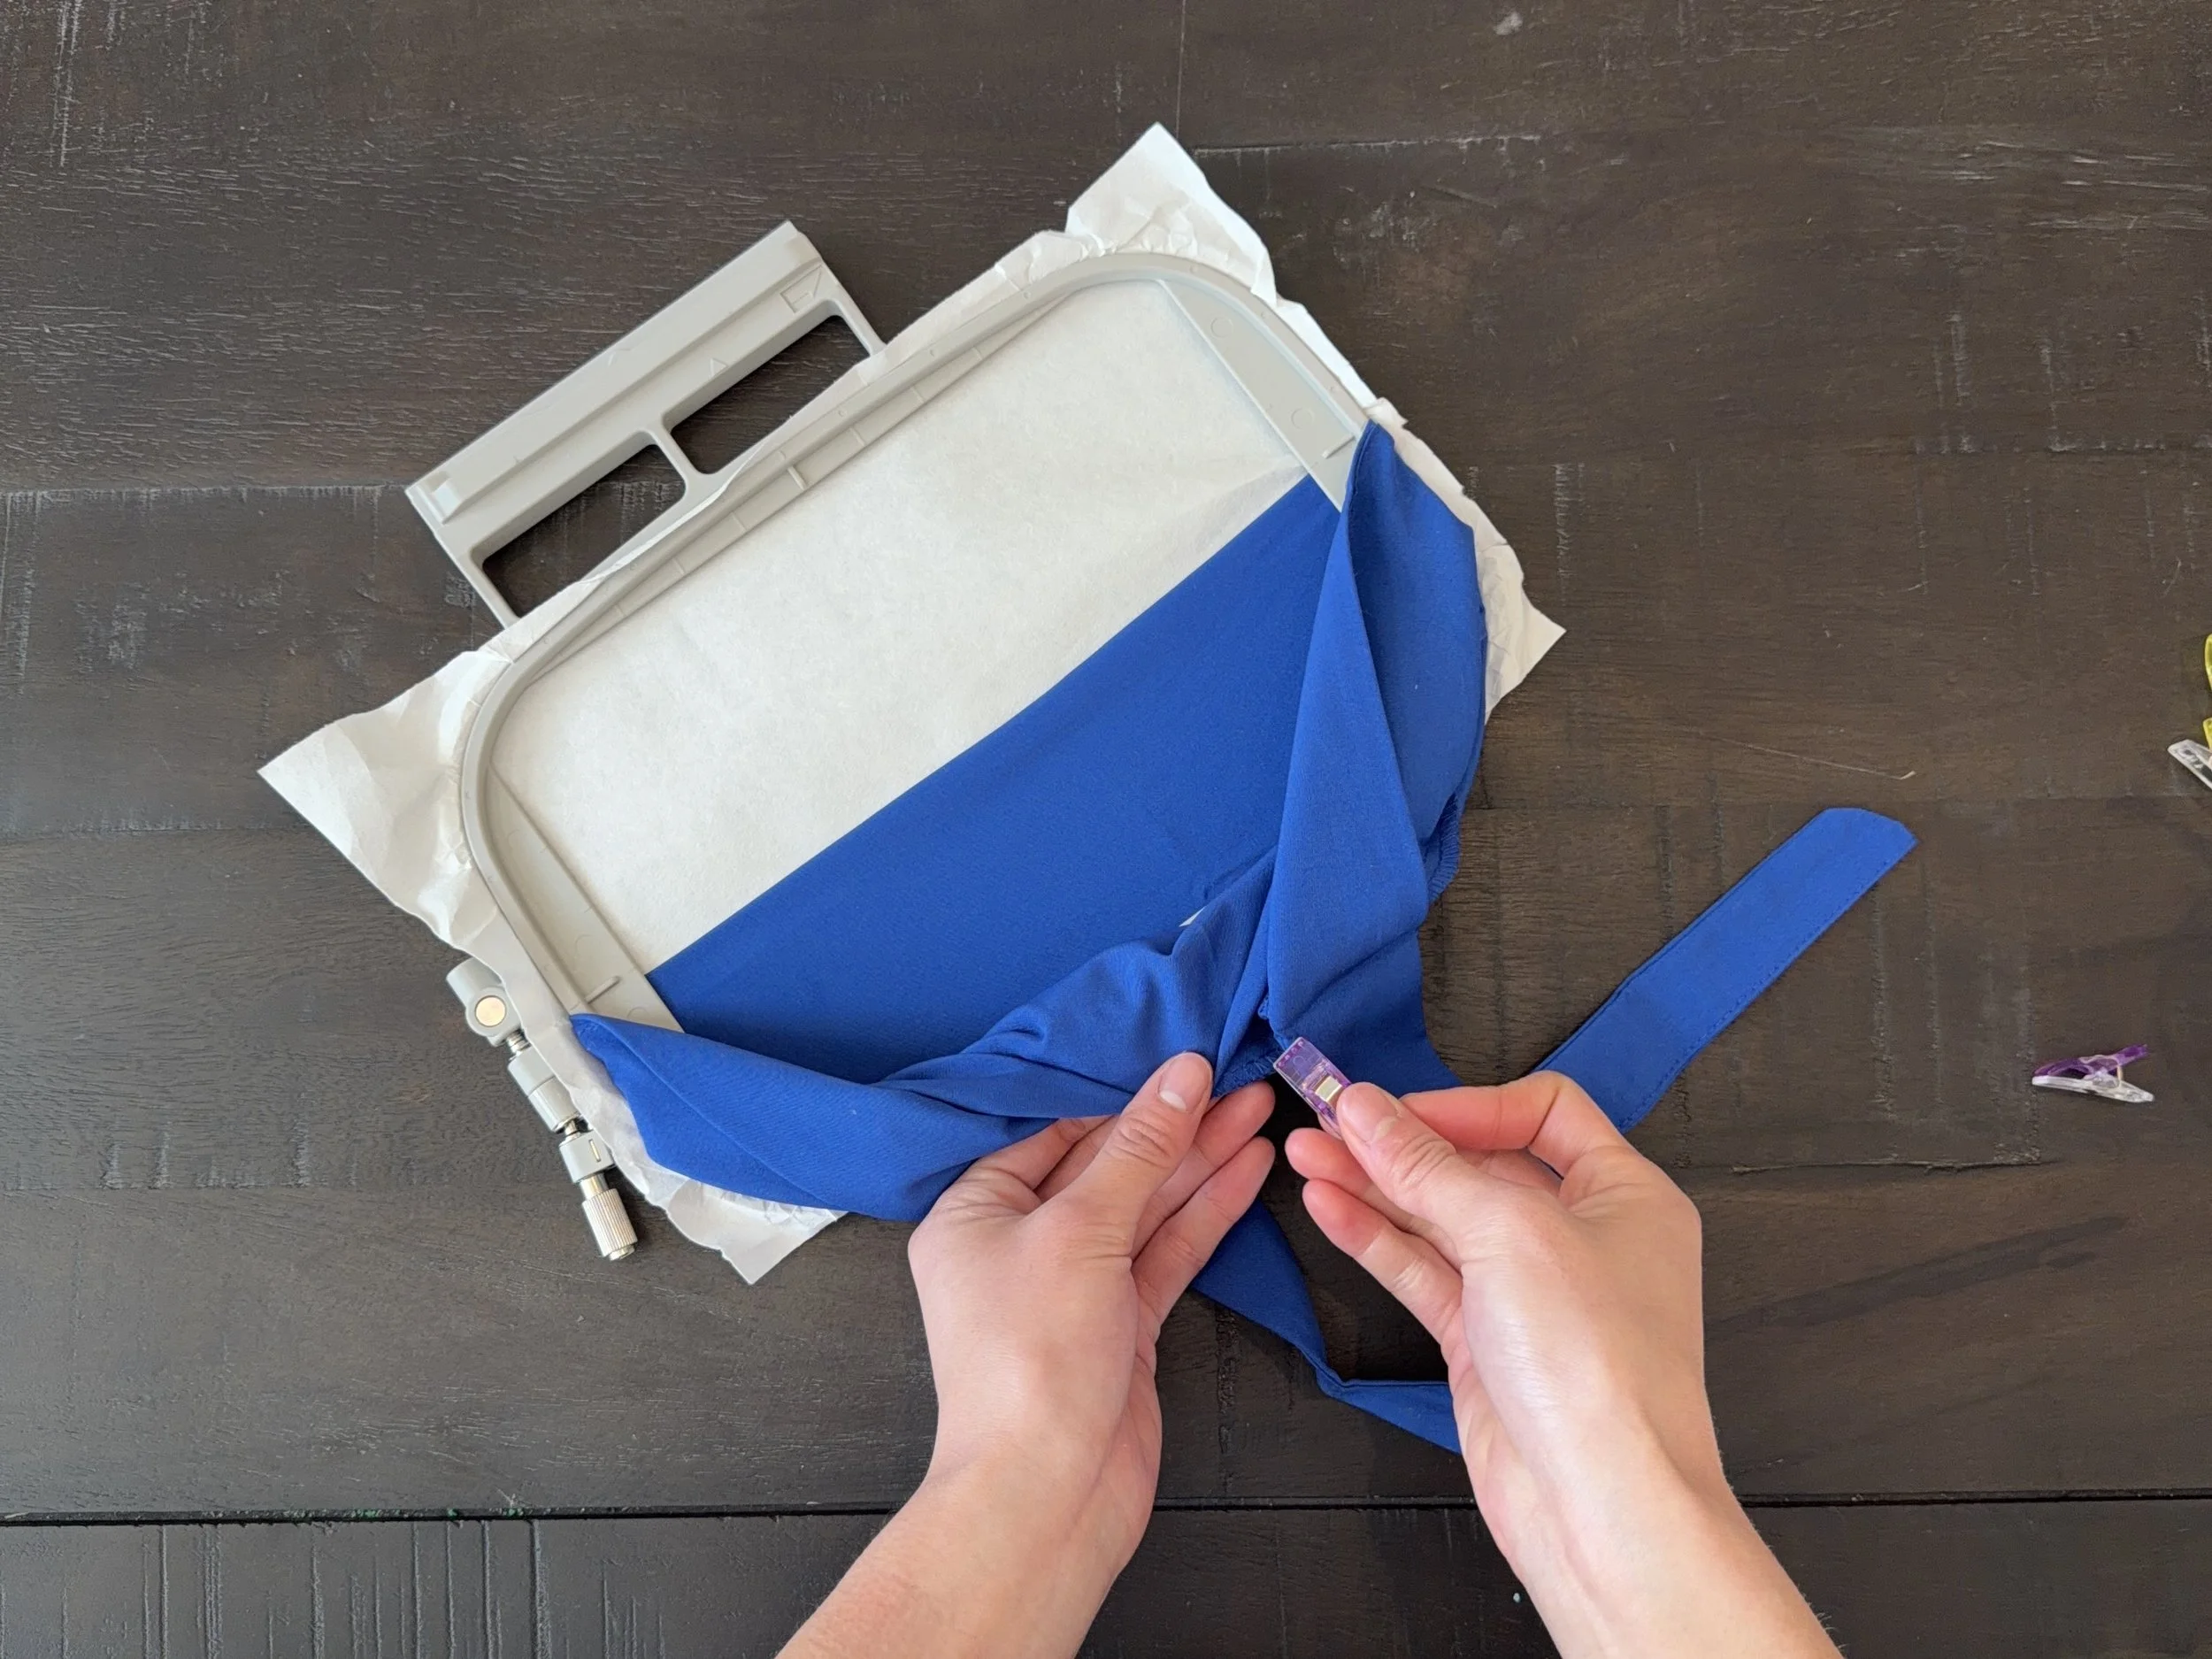
Pin the loose parts of the scrub cap away from the part that is going to be embroidered to ensure that they don’t interfere with the embroidery machine.
Complete!
2. Creating the design
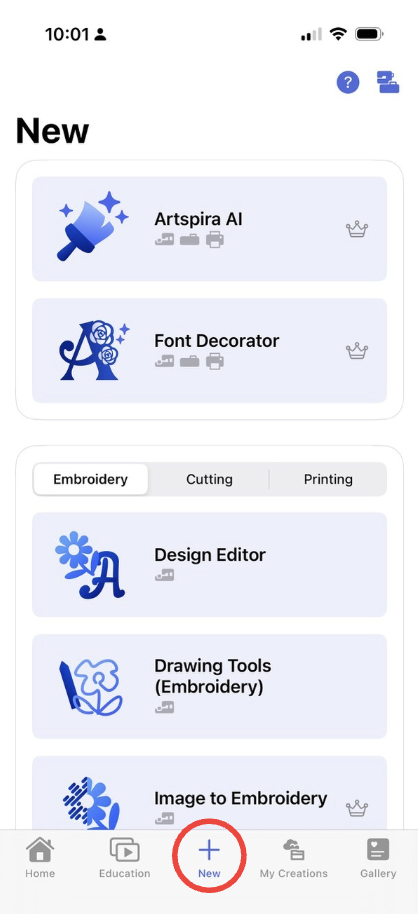
If you are using a Brother Embroidery Machine, open the ArtSpira app on your phone. Go ahead and press the plus button to create a new design. (If you are not using a Brother embroidery machine, I recommend looking up a tutorial!)
To add text, click the “Text” button in the bottom left corner.
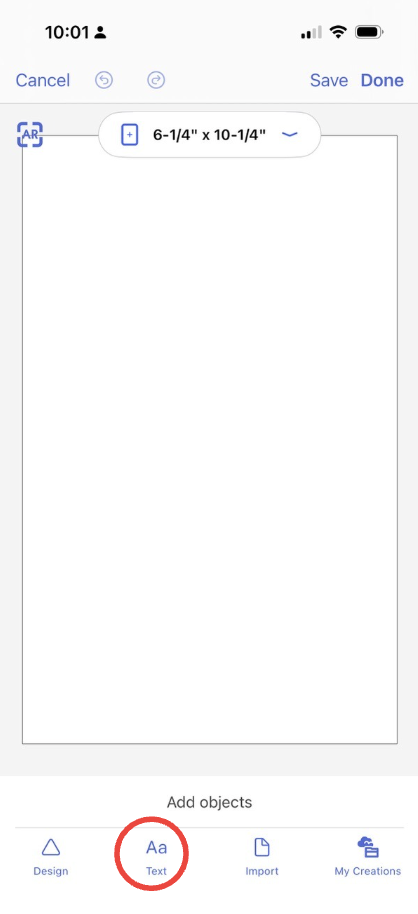
Write the name of the person as well as their position.

Once you have added their information, you might need to play around with the font and layout of the text. I like to use the font “Calistoga.”
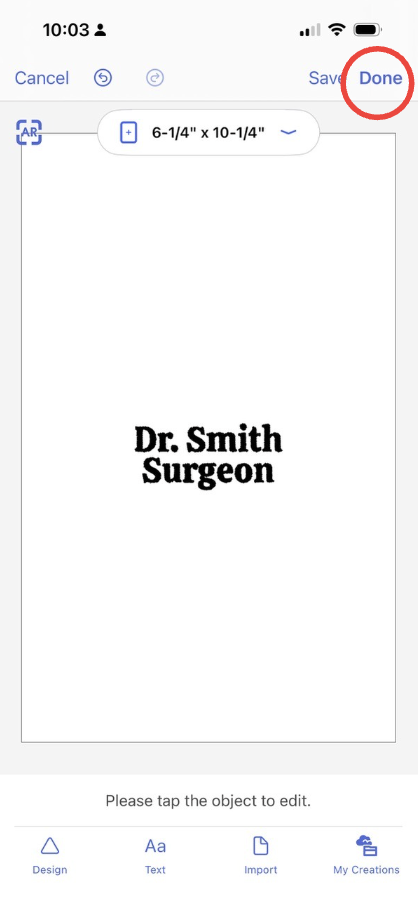
Once you are happy with the design, click “Done” in the upper right hand corner. It might ask you to save your design, which I recommend doing so it is easier to make future scrub caps.
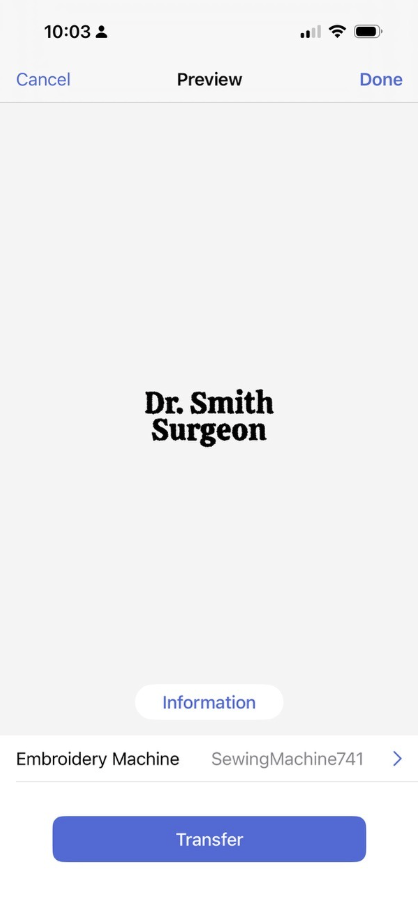
After asking if you would like to save the design, it should take you to a screen asking you to transfer it. First, make sure it is connected to the right machine. Once you have verified this, go ahead and click “Transfer!"
3. Setting up the embroidery machine
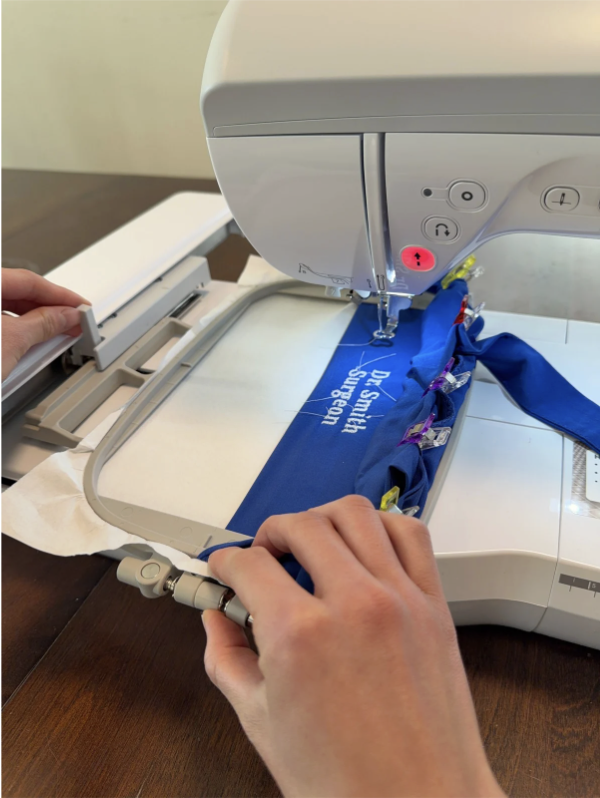
On your embroidery machine, there should be a slot to slide your embroidery frame in. Go ahead and slide it in, and ensure that it is securely in there.
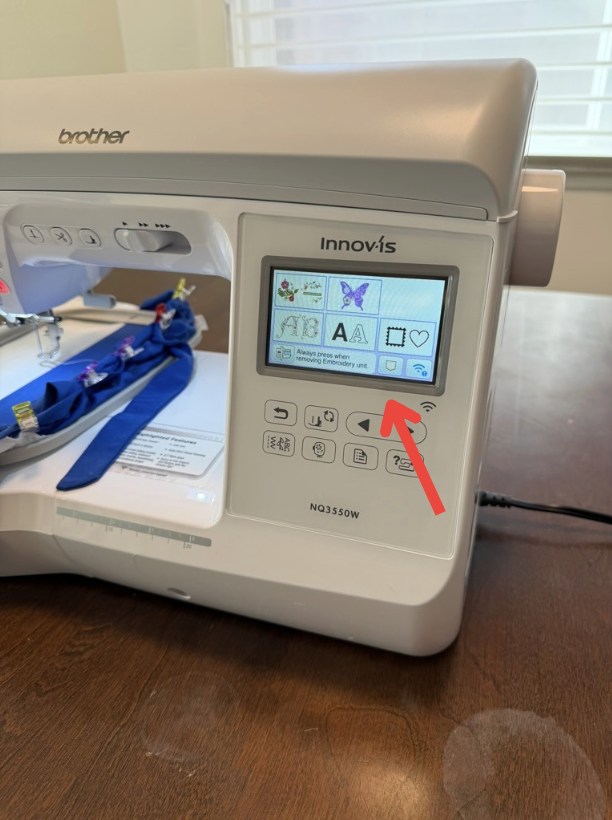
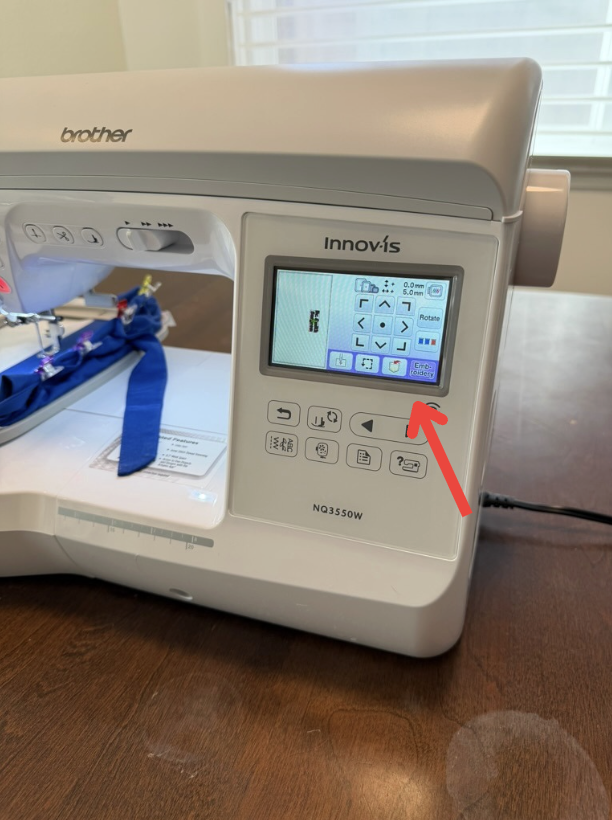
After turning on the embroidery machine, the screen should light up. To find your design, first press the button that looks like a pocket.
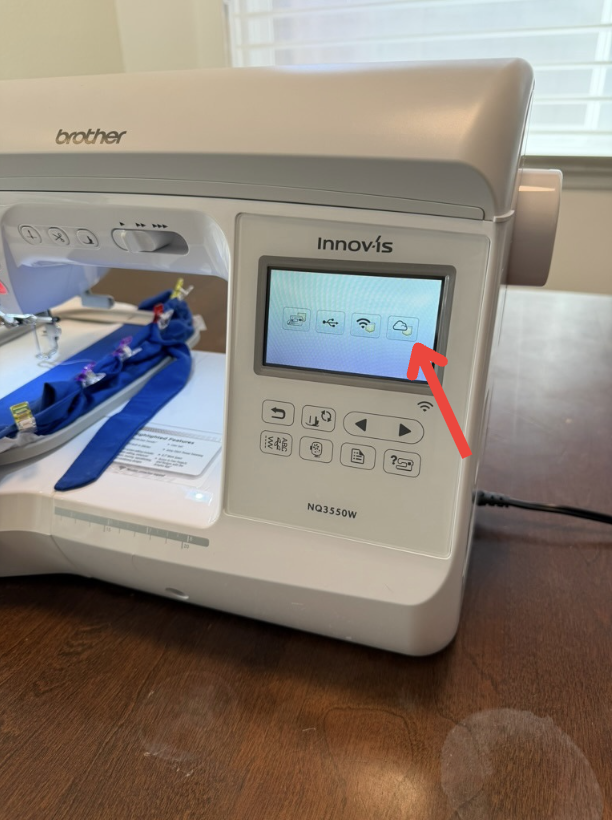
It should take you to this screen. Now, press the button with the cloud.
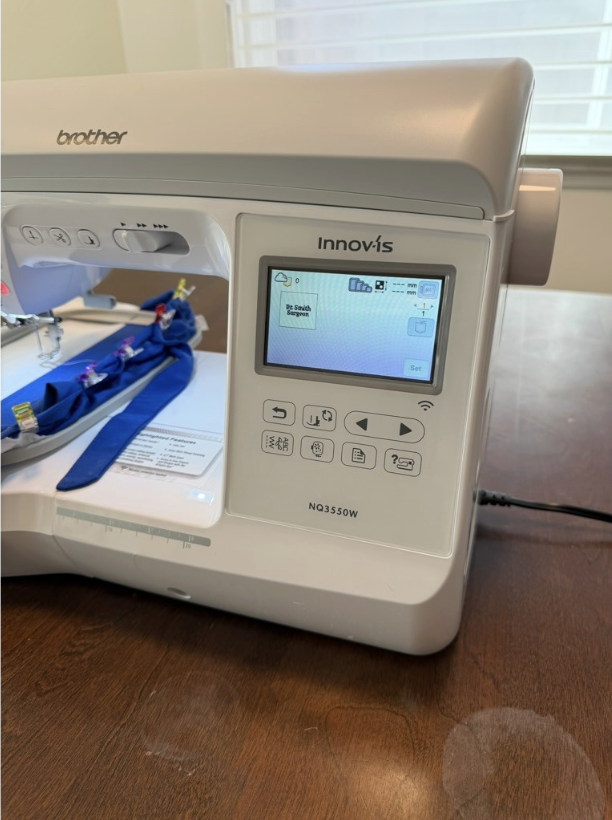
After pressing the cloud, you should see this screen, where you are able to view the designs you have transferred. Click on the name that you transferred, and press, “Set.”
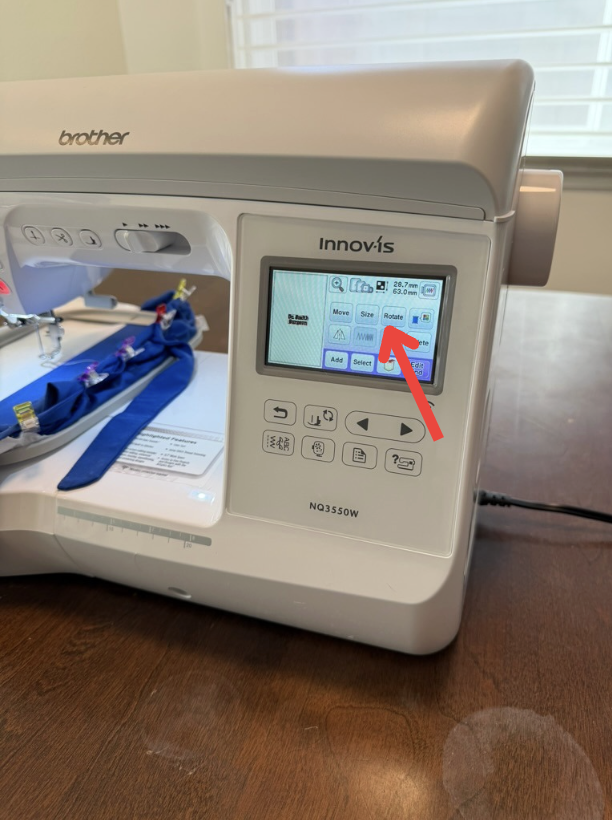
After you do that, you should see this screen where you can adjust your design. The first thing that you need to do is to rotate the design, so click “Rotate.”
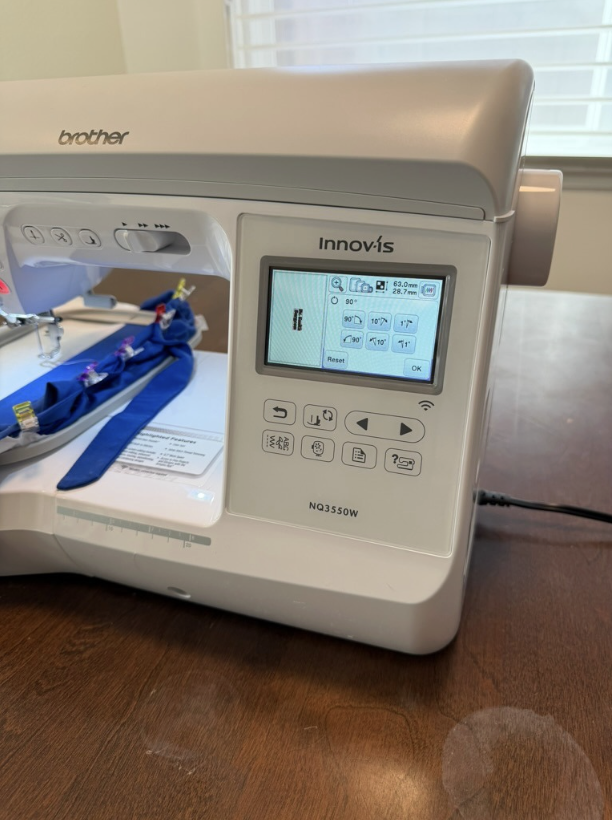
This is the rotate screen. Rotate the design by pressing the arrows until it appears how you want it on the scrub cap. Once you’re happy with it, press “Set.”
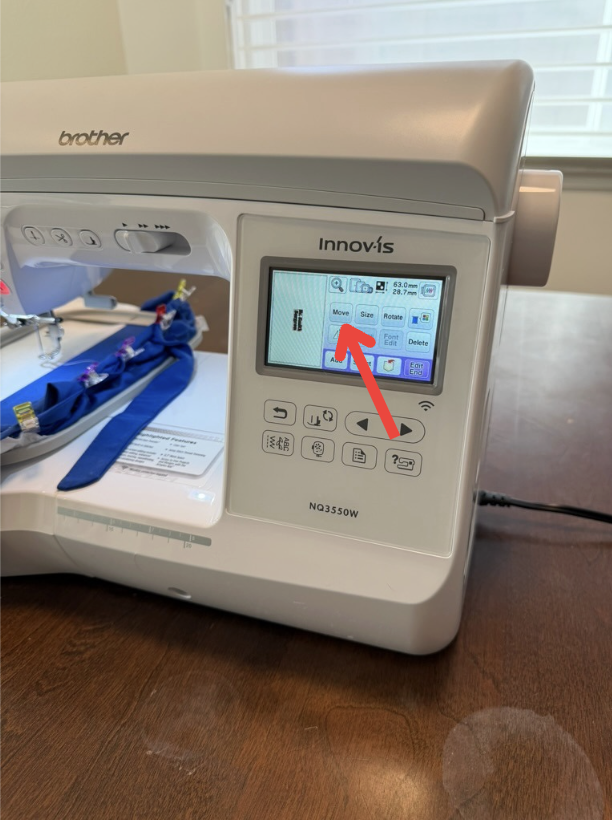
Now, in order for the machine to embroider on the correct part of the scrub cap, you must move the design. To do this, first click “Move.”
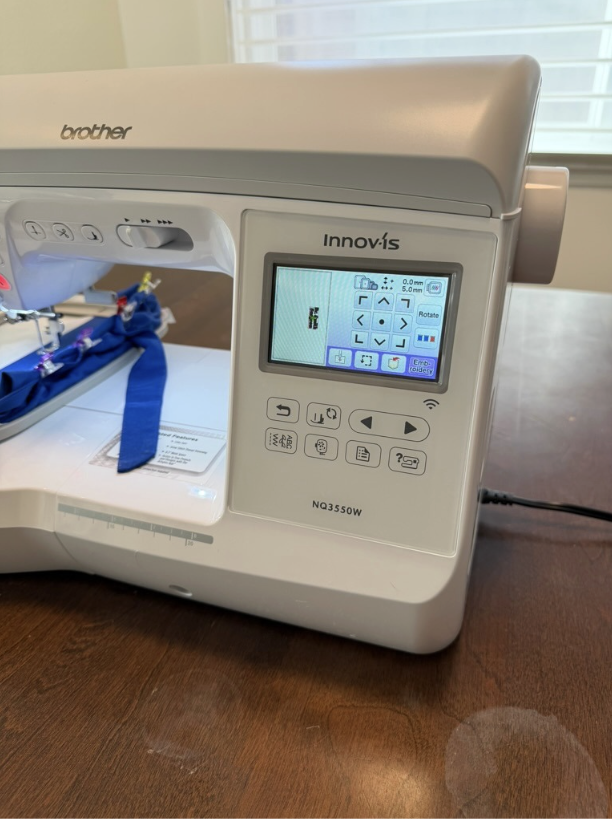
It should take you to this screen where you’ll see arrows. Press the arrows until you think the design will be embroidered in the correct location. Do not worry about not knowing the exact location, as you will figure out how to find this in the following steps.
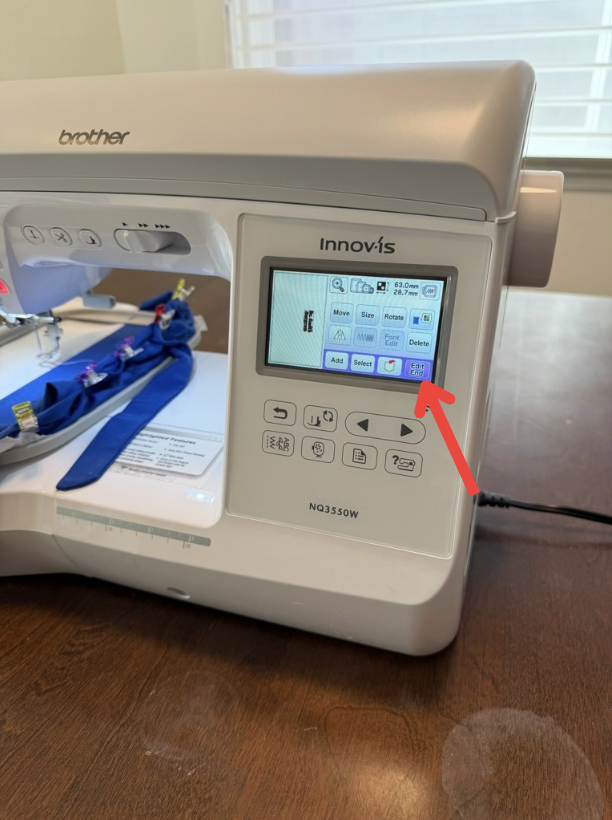
To find the exact location where the machine will embroider on the scrub cap, begin by clicking “Edit End.”
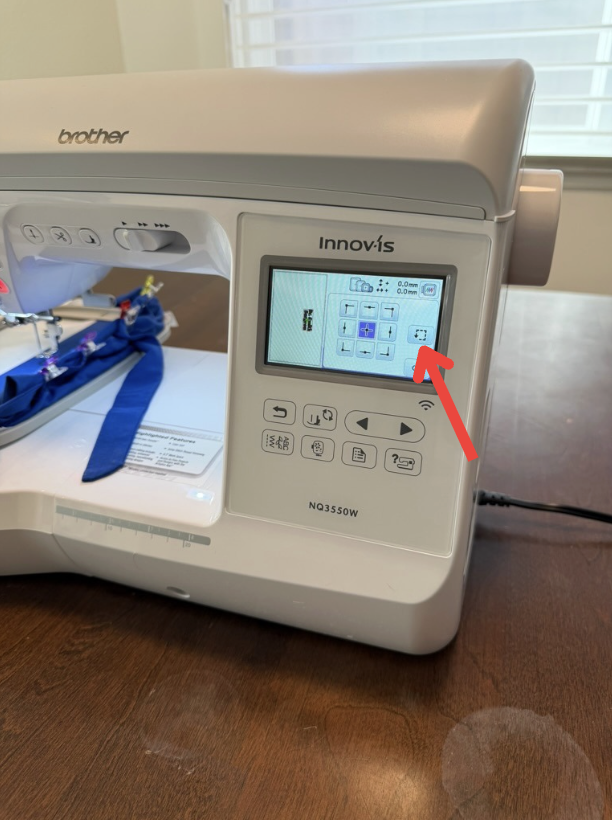
It should take you to this screen. To see the location of your design on the scrub cap, click the arrow button. The machine will then move the scrub cap to show you where it will place the embroidery. If you are unhappy with where it is, feel free to keep moving it on the “Move” screen. Once completed, press “Ok” to navigate back.
Once you have completely adjusted your design, it is time to embroider. Press the “Embroidery” button in the bottom right hand corner.
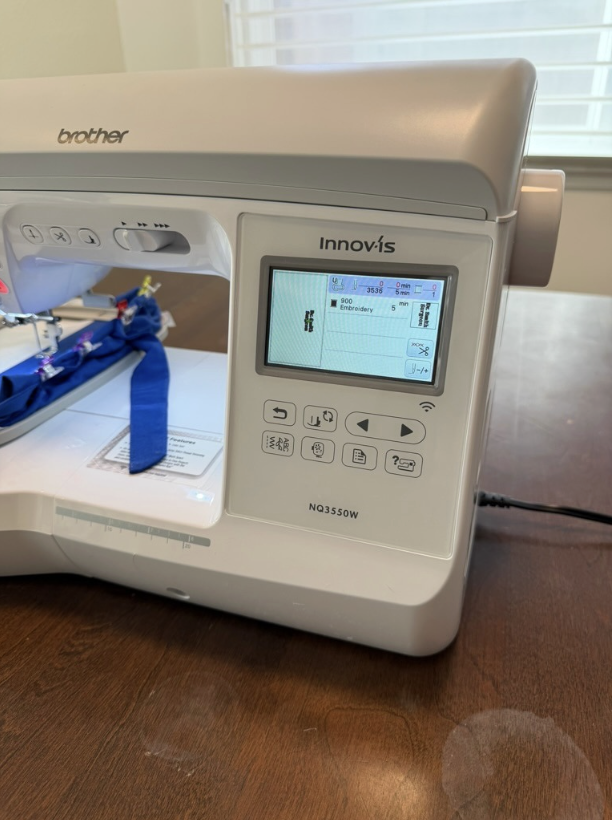
It should take you to this screen. You are now ready to start embroidering!
4. Embroidering

Once you have completely adjusted everything and pressed “Embroidery,” the machine can now start embroidering! First, lower the foot of the machine. This might be a button, as shown in this photo, or a lever in the back.
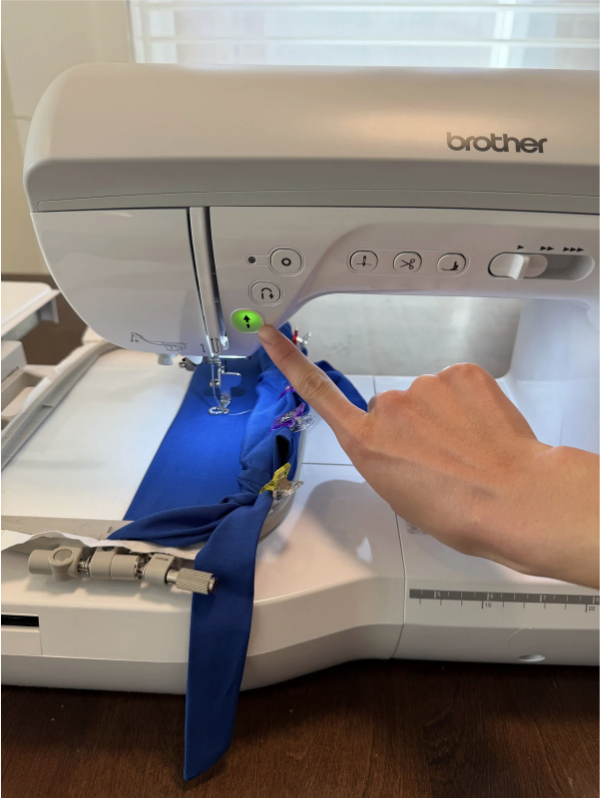
Once you have lowered the foot, the start button should turn green. Go ahead and press that, and watch the machine do its magic!
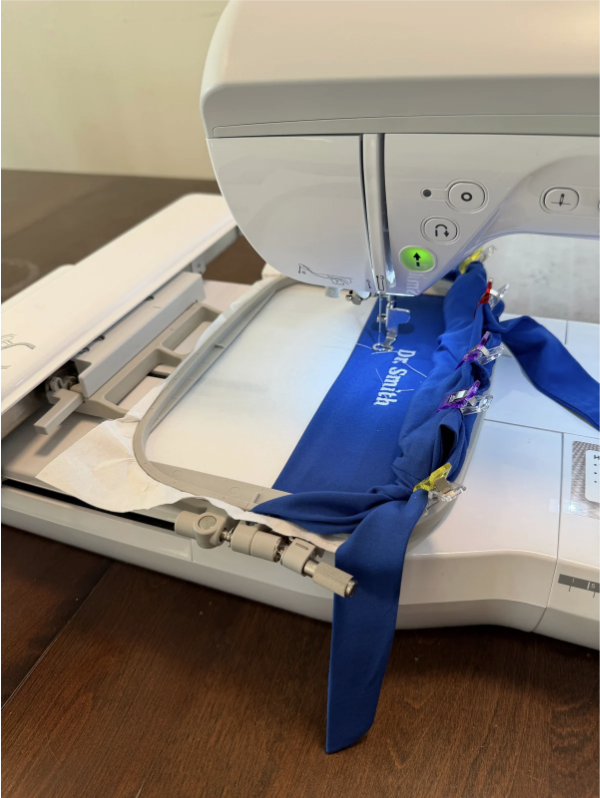
This usually takes anywhere from 5-15 minutes, depending on the length of the name.
Once it is done, carefully take the embroidery frame out.
5. Finishing Touches
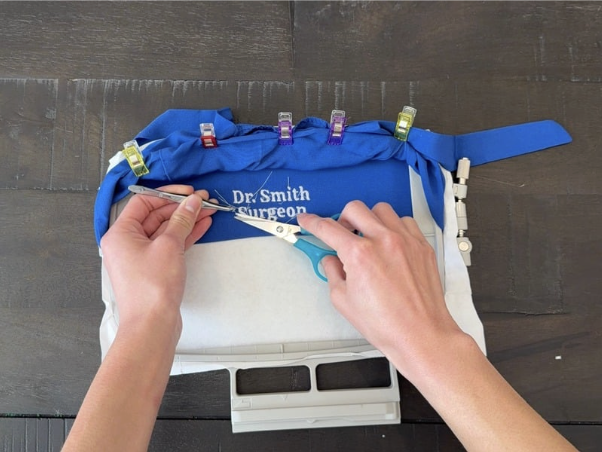
The embroidery machine tends to leave excess thread hanging, so trim those. I like to use a seam ripper, tweezers, and scissors to be super precise.
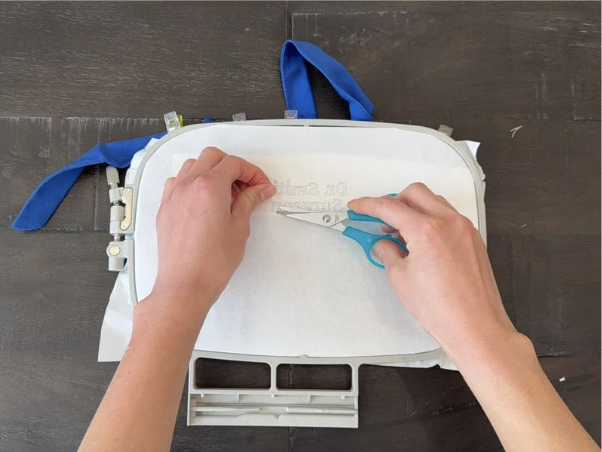
Don’t forget to trim the back as well!
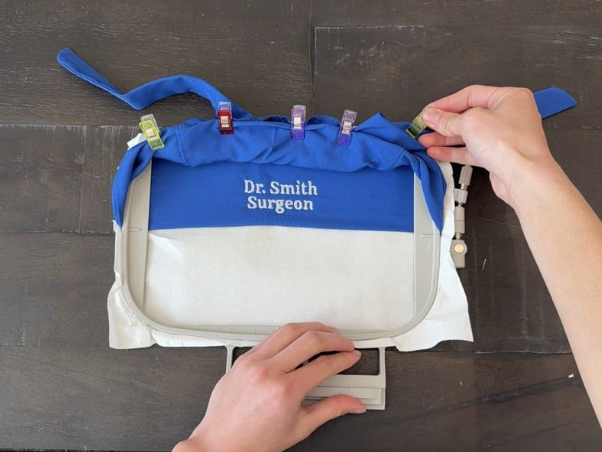
Once you are happy with how it looks, go ahead and unclip the scrub cap.
Now, take out the frame...
Remove the transfer paper...
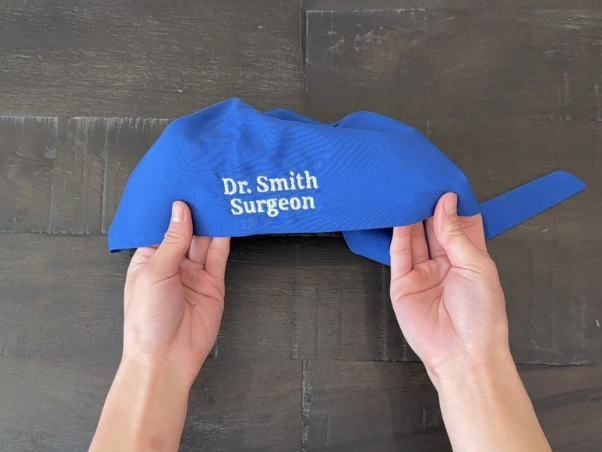
... and voila! You have just completed your very own embroidered scrub cap!